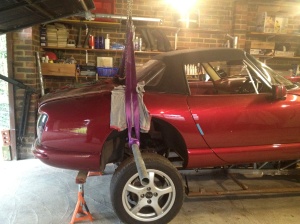
If you’ve been following the steps in order then its time to raise the body. I’m very lucky to have a decent size double garage with lots of space so this wasn’t actually too difficult for me. I’ve read plenty of other body lifts where its been done in a single garage. I’m guessing more planning is needed but its clearly possible so try not to let a single garage put you off.
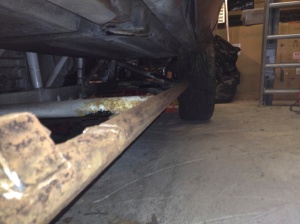
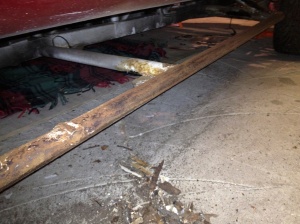
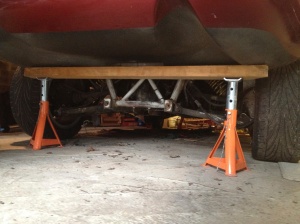
To start with I lifted the body a few inches with the trolley jack. A nice thick, long piece of wood on the jack will spread the load width ways across the car. The front was lifted almost directly under where the radiator sits. The rear just behind the end of the rear arches. Lift slowly and everything should be ok. You will hear some awful sounds (cracks, scrapes and groans) as the body lets go from the chassis, but thats normal. Then support the body via the pieces of wood on some axle stands. The following is a selection of pictures showing the sort of access this allows:
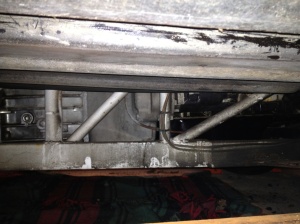 Off side looking in at the bell housing (right)/gearbox (left) in the middle of shot. The 2 front brake pipes are also shown
To the main lift. My method was running a 12 foot scaffold pole across the beams spanning across the garage and then hanging 2 chain blocks from the pole. This way the weight of the body on the pole is spread across at least 10 beams so there should be no structural issues.
Then I used 2 more scaffold poles. Another 12 foot pole through the rear wheel arches and a smaller 6 foot pole through the front arches and engine bay. Connect the poles to the chain blocks with lifting straps and away you go, lifting a foot or so at each end in turn.
WARNING: Its normally around this point that most people tend to find there is one more electrical connection to go. The wiring for the speedo sensor thats attached to the rear of the diff. Its very hard to see this with the body on and you’ll only notice a slight bit of resistance whilst lifting, so its very easy to go too far. The connection can be undone in the region of the back of the prop shaft and the front of the diff (apologies, but no pics. Annoyed with myself here as its important to disconnect this as well before you rip some of the wiring out…)
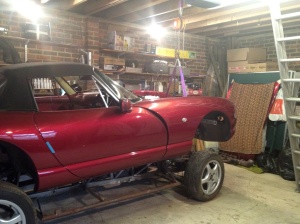
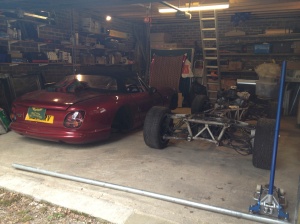
Hopefully you should end up with something like the next picture. I raised the body high enough to allow the chassis to be rolled straight out towards the back.
There we go then. The body lift is done. Its totally up to you now how to proceed with what you want to do. Just a general clean up, total chassis refurb, replace just outriggers. The choice is yours.
The remaining sections of the blog will be about what I have decided to do…
