Lets move inside the car. Time to tackle one of the hardest parts of the body off (it might actually be fairer to call it the most frustrating part). We need to remove the seat belts (technically quite easy, but lots of danger if not prepared properly) and the chassis bolts on the centre sections just next to the dash (DIFFICULT). Yes, that was capitalized for a reason !!
First off remove the seats. Nice and easy start. The usual penetrating fluid on the nuts and off they come. Each seat has 4 bolts. 2 front and 2 rear. The nuts are accessed under the car. Just lie under the car and you’ll see them on the floor. The front nuts are hidden in a couple of recesses in the floor, but this is much clearer when you’re actually under the car. Bit of a wiggle and the seats just lift out. (sorry but no pics)
Now for the belts. The top of the belt is easy enough. Just undo ! The bolt attaches to a captive nut bonded into the fibreglass above the rear wheel arch.
 Seat belt bolt. Note sequence of how it all fits together (all the seat belt bolts fit together in this manner. The actual belt is positioned between the plain washer and the wave washer at the left end of the assembly).
Getting a little trickier now, its time for the rearmost lower bolt. This holds the actual belt reel to the car. The bolt passes through the reel, through the body and finally through the chassis and ends up outside the car in the rear wheel arch. This can be a bit fiddly as you really need to ‘lock’ the head of the bolt somehow as you simultaneously undo the nut outside the car. If not, the bolt will normally have corroded slightly and the entire bolt and nut will just rotate as one when you go for it. If you have arms like an orangutan then you’re sorted. If like me you suffer from short ar*e syndrome then its time for the thinking cap.
I ended up placing a spanner on the bolt head inside the car so that when the bolt was turned the spanner jammed against the floor. This then allowed me to undo the nut on the outside of the car.
 Drivers side reel. The bolt passes through the bottom of the reel (not visible, apologies but didn’t get a pic of this) horizontally along the length of the car.
 And ends up in the rear wheel arch. This can be seen in the middle of the vertical plate which is part of the chassis at the lower front part of the arch (hope that’s clear)
This also illustrates the trouble in having to sit outside the car so you can reach both parts of the bolt at the same time !
Right then, 2 more bolts to go. If not the hardest to get too (don’t worry, that’s coming up real soon) then probably the most nerve racking. If either of these shear then its trouble (as far as I understand it). The 2 bolts are the lower outer and inner forward fixings. These hold the bottom forward part of the belt on the outside and the seat belt catch on the inner side of the interior. With the body on there is almost no way to access these bolts so if they do shear…well…I’m afraid you’re on your own. Or more correctly, its specialist TVR garage time. Penetrating fluid is your friend again. Soak them. And soak some more. And then…well you get the idea.
The actual bolts are easy to undo. Its just 2 bolts that screw into threaded parts of the chassis. No nuts to bother with. Just undo !
 Outer lower bolt, drivers side which holds the actual belt (note rear outer seat bolt hole on the right)
 Inner bolt that holds seat belt catch, drivers side.
I can’t stress enough the need to try do as much as possible to ensure these 2 last bolts come out smoothly, but with proper preparation you shouldn’t have any difficulties.
For the passenger side it’s just a case of rinse and repeat. Seat out and then the 4 seat belt connections. Top, lower front and rear outside of car. Inner holding on the seat belt catch.
Now its time for the most fun you’ve probably ever had (disclaimer: that might not be 100% accurate). The 2 centre console bolts. Not only are they a fiddle to actually undo, but just finding them will produce lots of bad language and then some swearing as well.
First off the centre console needs to come off. Pretty straight forward. There is a screw at the very lowest front part on each side and another under the little storage cubby at the very rear.
 Drivers side screw at very front part of console can just been seen
 Passenger side (best pic I have unfortunately. It’s the small dark ‘dot’ at the very front)
Lift up and remove the flap that sits inside the rear cubby/storage tray and the screw is immediately visible.
Now remove the gear knob, hand brake handle and door opener. On my car the gear knob simply screws off (some say there is a small grub screw but I didn’t have one). This can be on pretty tight, so wearing rubber gloves can be a real help. If this doesn’t work then a couple of rubber bands around the knob and some adjustable pliers are needed (the rubbers bands will protect the metal and stop it getting marked/scratched). The button for the hand brake simply unscrews. However, the button is also under tension from a spring inside the handle so take care when removing. This is much clearer when actually doing it. The door opener on my car just pulled off. No small screws or glue. Again this could different on other cars.
Finally prize out the widow switches. Easy enough to then disconnect the electrical connections for the switches.
 Window switch connection
 Centre console coming up.
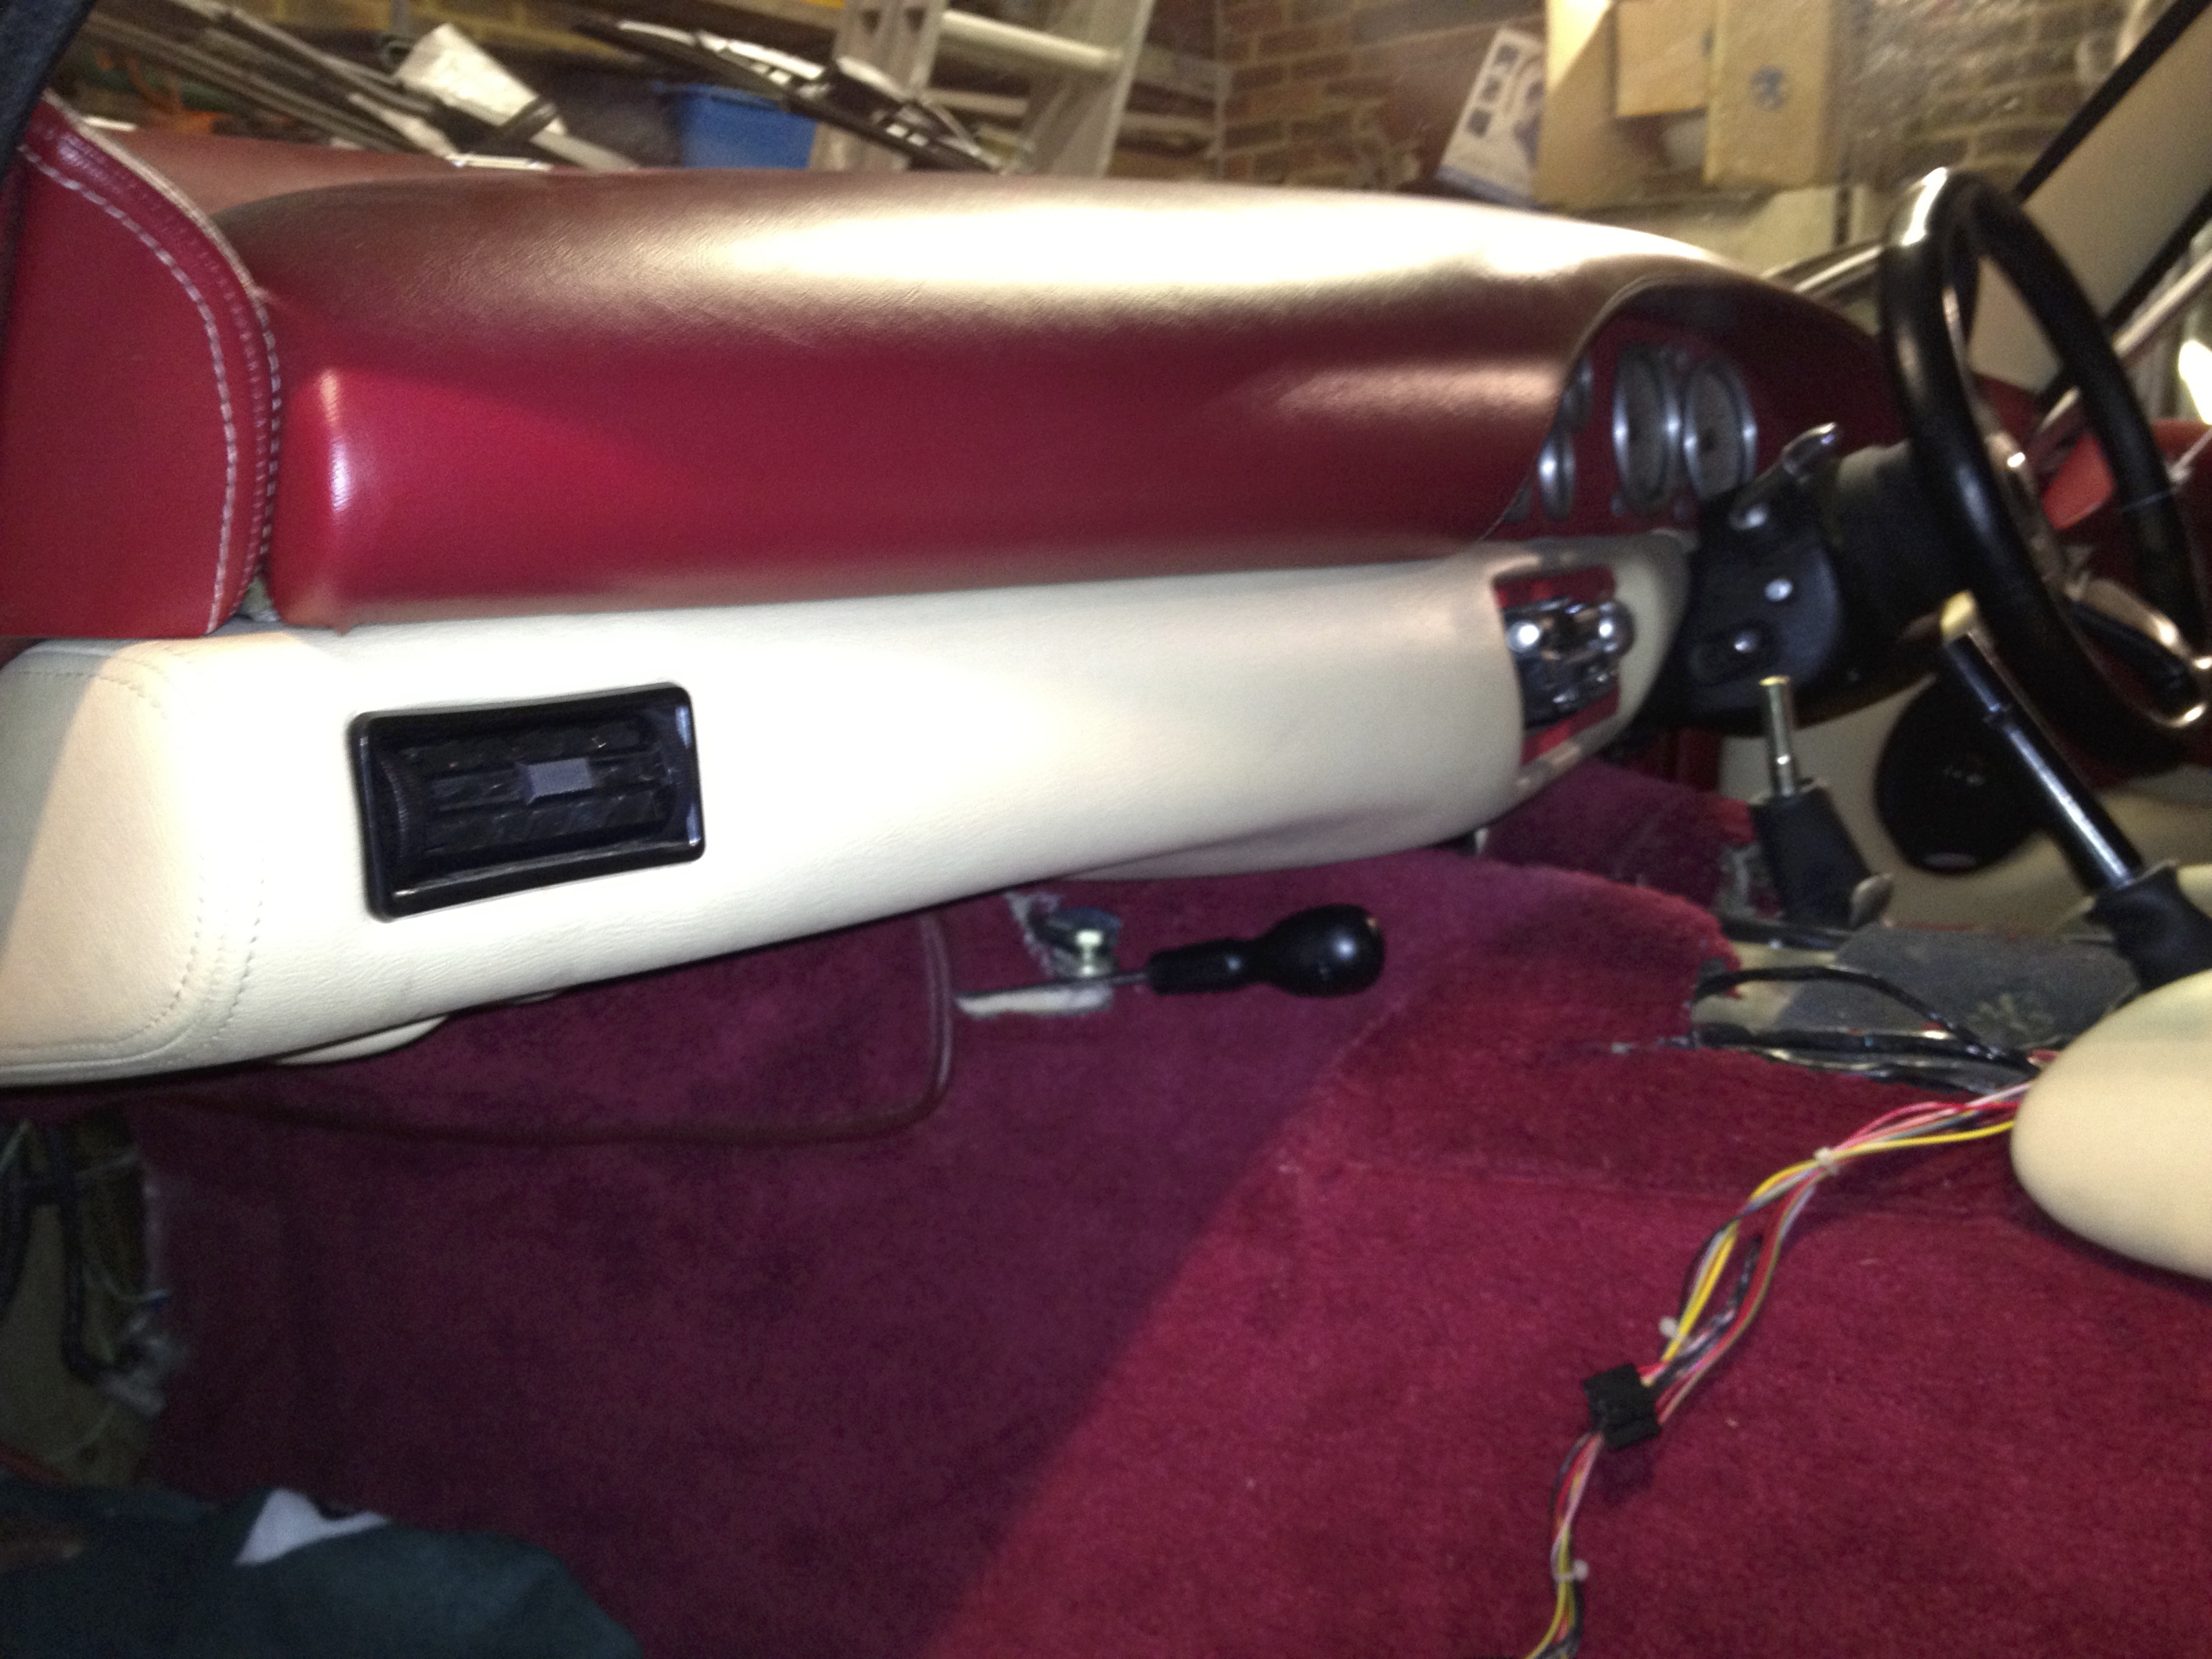
Just lift the centre console up. Sounds simple doesn’t it. Its much easier to lift up the rear of the console and move forwards slightly to begin with. This will allow enough room to be able to get the console past, and out from underneath, the handbrake. Then pull the console rearwards and up. Note, the side bolsters/armrests are not part of the console and will/can remain attached to the interior.
So then, after all that waiting, it’s finally party time. The centre 2 bolts. These travel down vertically into threaded parts of the chassis just under where the dashboard lies, almost level with the centre air vents. Note, the passenger side (on my car at least) was also an earth point. I’ve seen some pics of cars where both bolts are earth points, but not for me.
Start by trying to feel under the start of the dash to a recess which will have the bolt. This is hard to describe so the following pics should give you a good idea. Apparantly you can pull the carpet out and then replace, but the dash is so tight to the carpet that I didn’t even try. And yes, before you say it, I know I made a total Horlicks of cutting the drivers side carpet. This will be fixed later. The passenger side is a much cleaner cut. Effectively you are trying to cut 2 ‘flaps’ in the carpet to gain access to the bolt head.
 Drivers side. Note the indentation in the carpet from the centre console. This should help in trying to locate the rough position of the bolt.
 And the passenger side. (Note on the next pics the order of washers etc)


There we go then. The hard part is over. Once the bolts are located and access is made it’s simply a case of getting a ratchet spanner on the bolt and off they come. Its worth noting though that the bolts are pretty long. As they come out it almost looks like there isn’t enough room until they contact the dash (as per the above pic). Even though its tight you’ll be fine so don’t panic.
So, that’s the interior centre consol bolts out/off and the hardest part over by far.
Moving on, lets remove all the remaining chassis bolts. All of these can be found inside the cabin. They all pass vertically down through the body and bolt through the outriggers. There are 7 on each side and the carpets will need to be pulled back slightly. Just stick them back down when it comes to refitting. There are 4 bolts along the outside edge of the car and 3 on the inner side. The floor of the cabin is divided into 2 sections, front and rear, by a spar of GRP that runs across the width of the car just in front of the seat. There are:
2 at the very front of each footwell
2 towards the rear of the front section
1 on the outside of the front of the rear section
2 on each side at the rear of the rear section
The following is a collection of photos showing their location. I hope these help as it’s pretty difficult to take the photo and hold the carpet back at the same time.
 Rear most inner
 Rear most outer (seat belt reel hole also visible)
 Front outer of rear section (the hole is just in front of my thumb, not to be confused with the seat bolt hole visible in the middle of the foam)
 Rear inner of front section (my hand is resting on the spar mention above)
 Rear outer of front section (again my hand is resting on the spar)
 Front outer of the front section (accelerator pedal is directly above my forearm. Not easy to spot, but it’s the dark spot/area almost directly below my finger)
The passenger side is an exact copy.
So there we are. All the chassis bolts are out. All that remains are a few wires and pipes of various types !!
