Moving to the front of the car, next up is removing the radiator to gain access to the front chassis bolts. This also involves draining the cooling system.
First up is to remove the bonnet to allow proper access to the engine bay. I’m guessing it can be done with the bonnet still on, but it makes life so much easier to take it off.
A second pair of hands here is a real help. Ask your helper to hold the bonnet open as far as it will go. Undo the bonnet hinges and remove the bonnet completely. These are allen heads. (Note, I forgot to mark the position of the hinges Guess I’ll cross that bridge when it comes to refitting as marking up before does make things easier).
 Bonnet hinge (just a touch of rust then….)
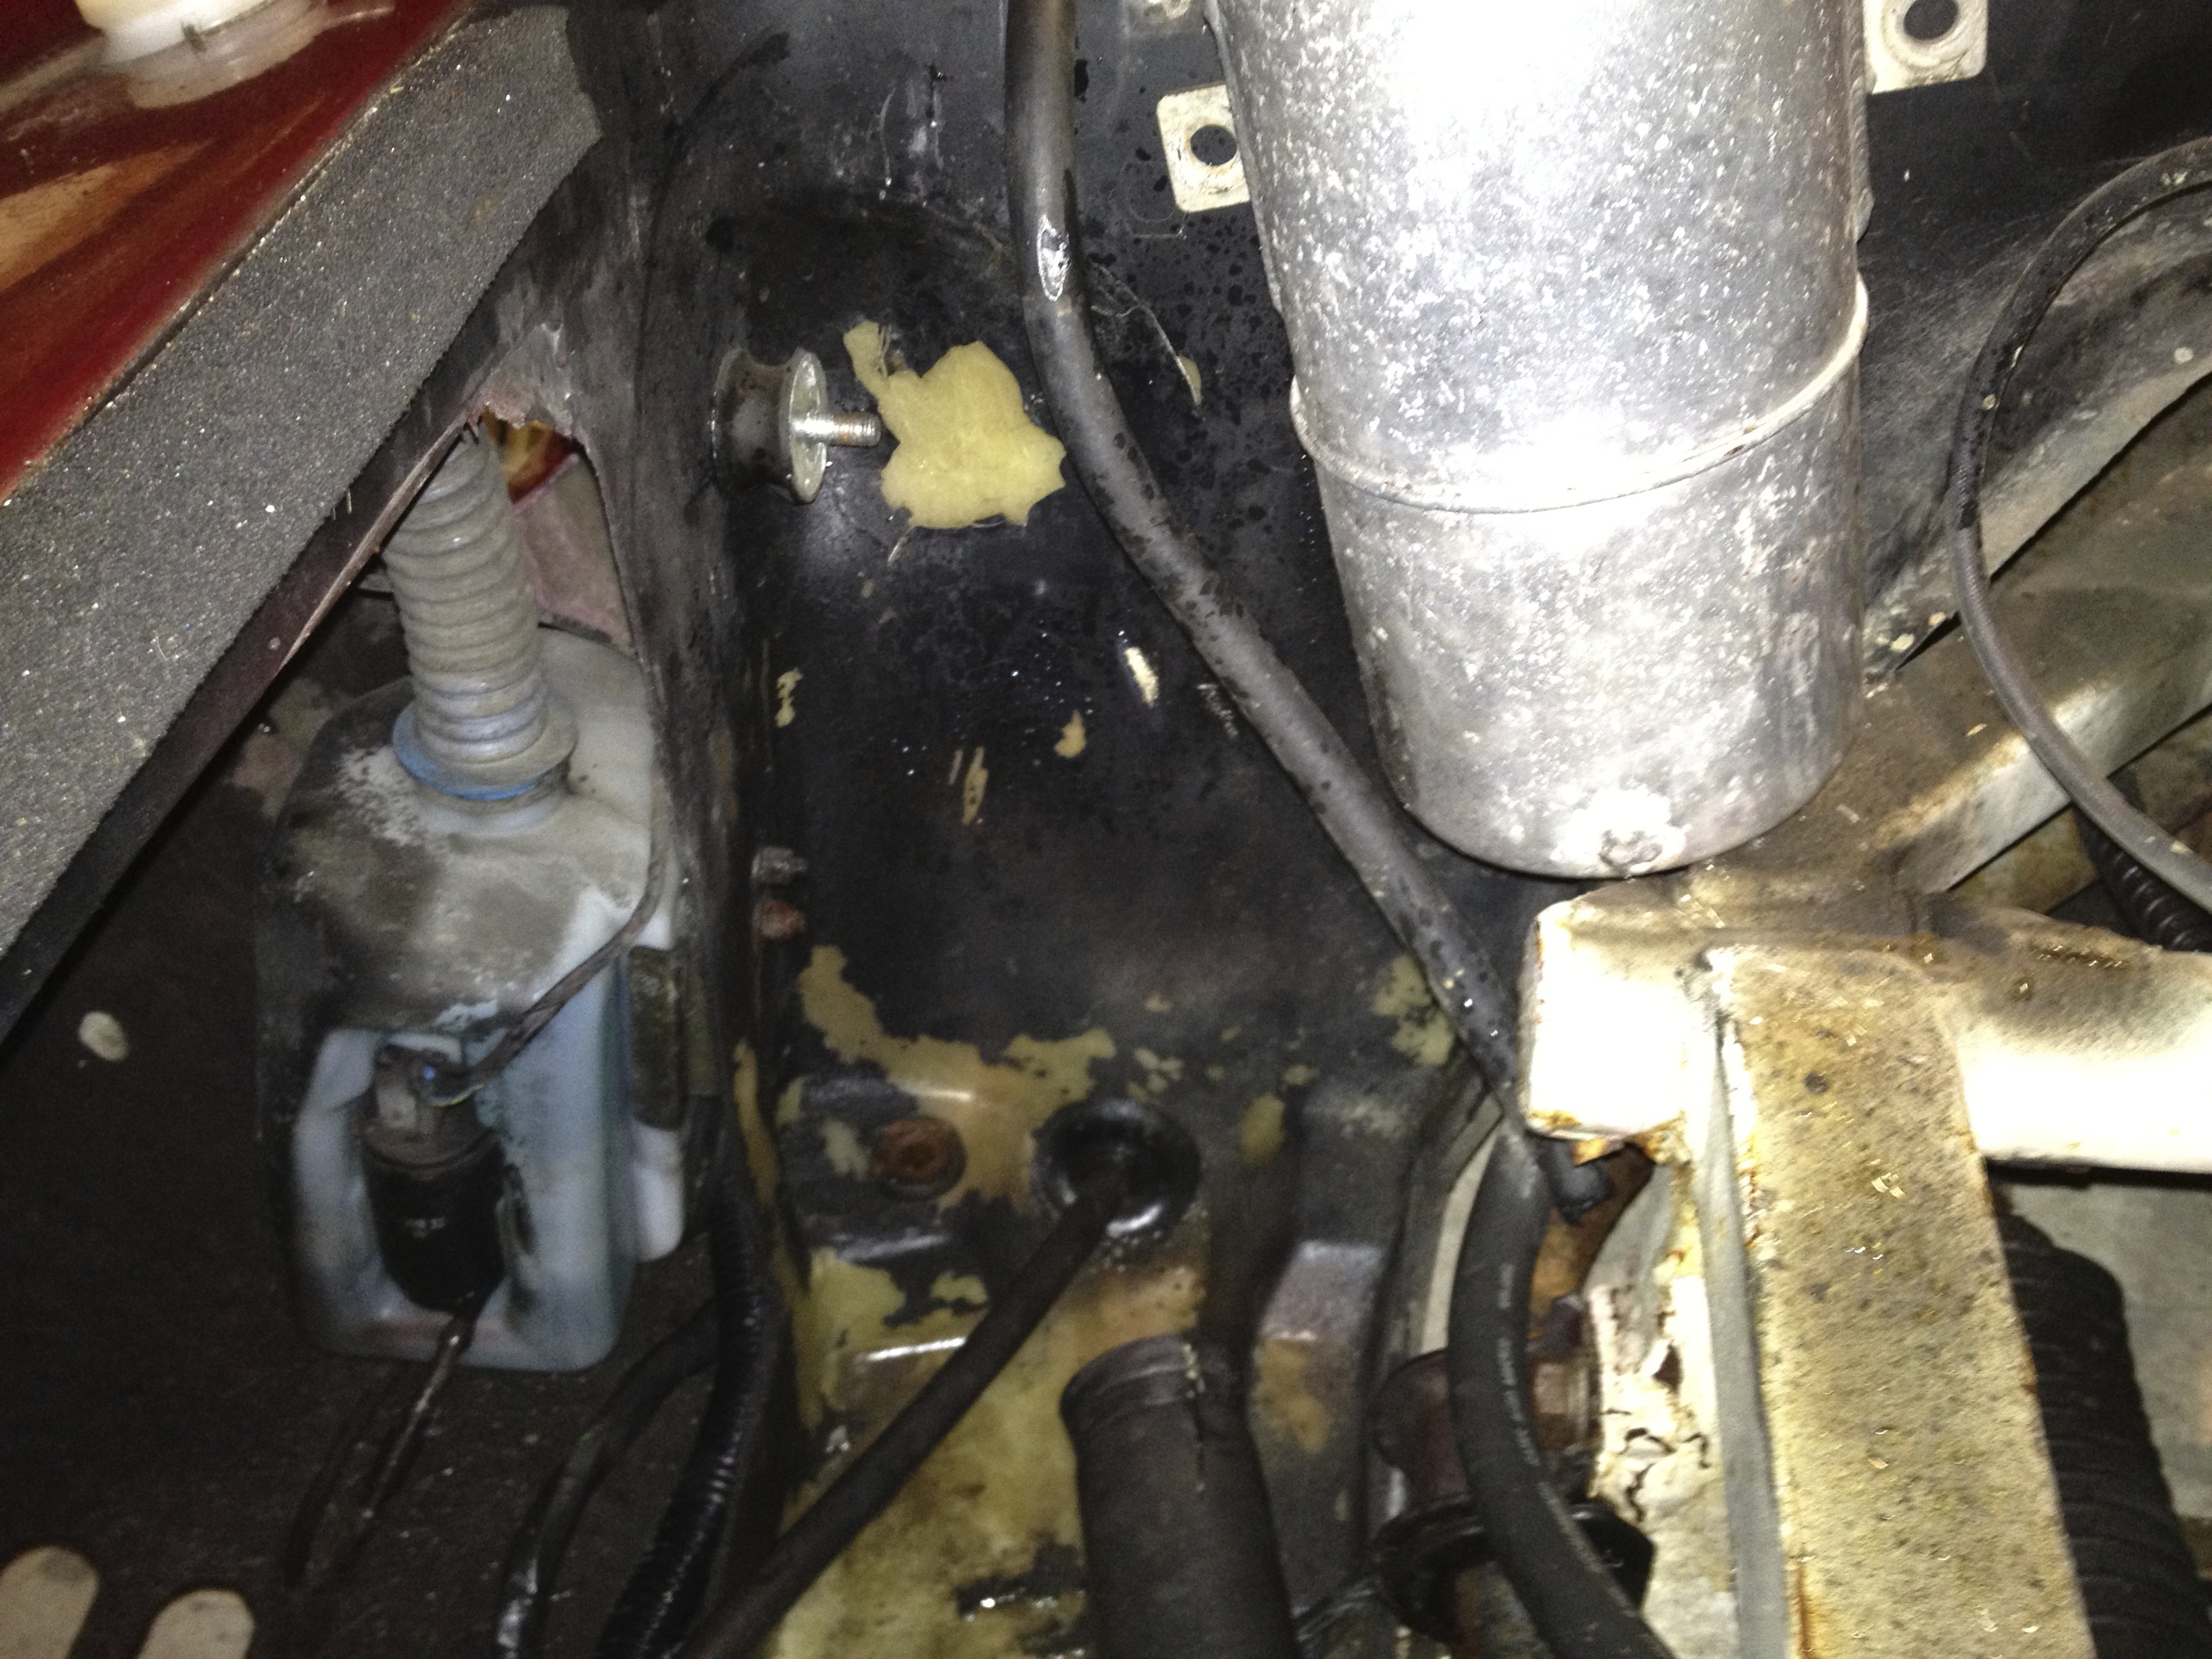
Next, remove the expansion tank on the near side at the very front of the engine bay. This makes getting to the lower radiator hose much easier, which is our first port of call in draining the cooling system. 2 simple bolts here although they are different sizes (as noted in the tools needed list in the reference section). Once the bolts are out the expansion tank can be pushed to the side, there is no need to remove the hose attached to the underneath of it yet.

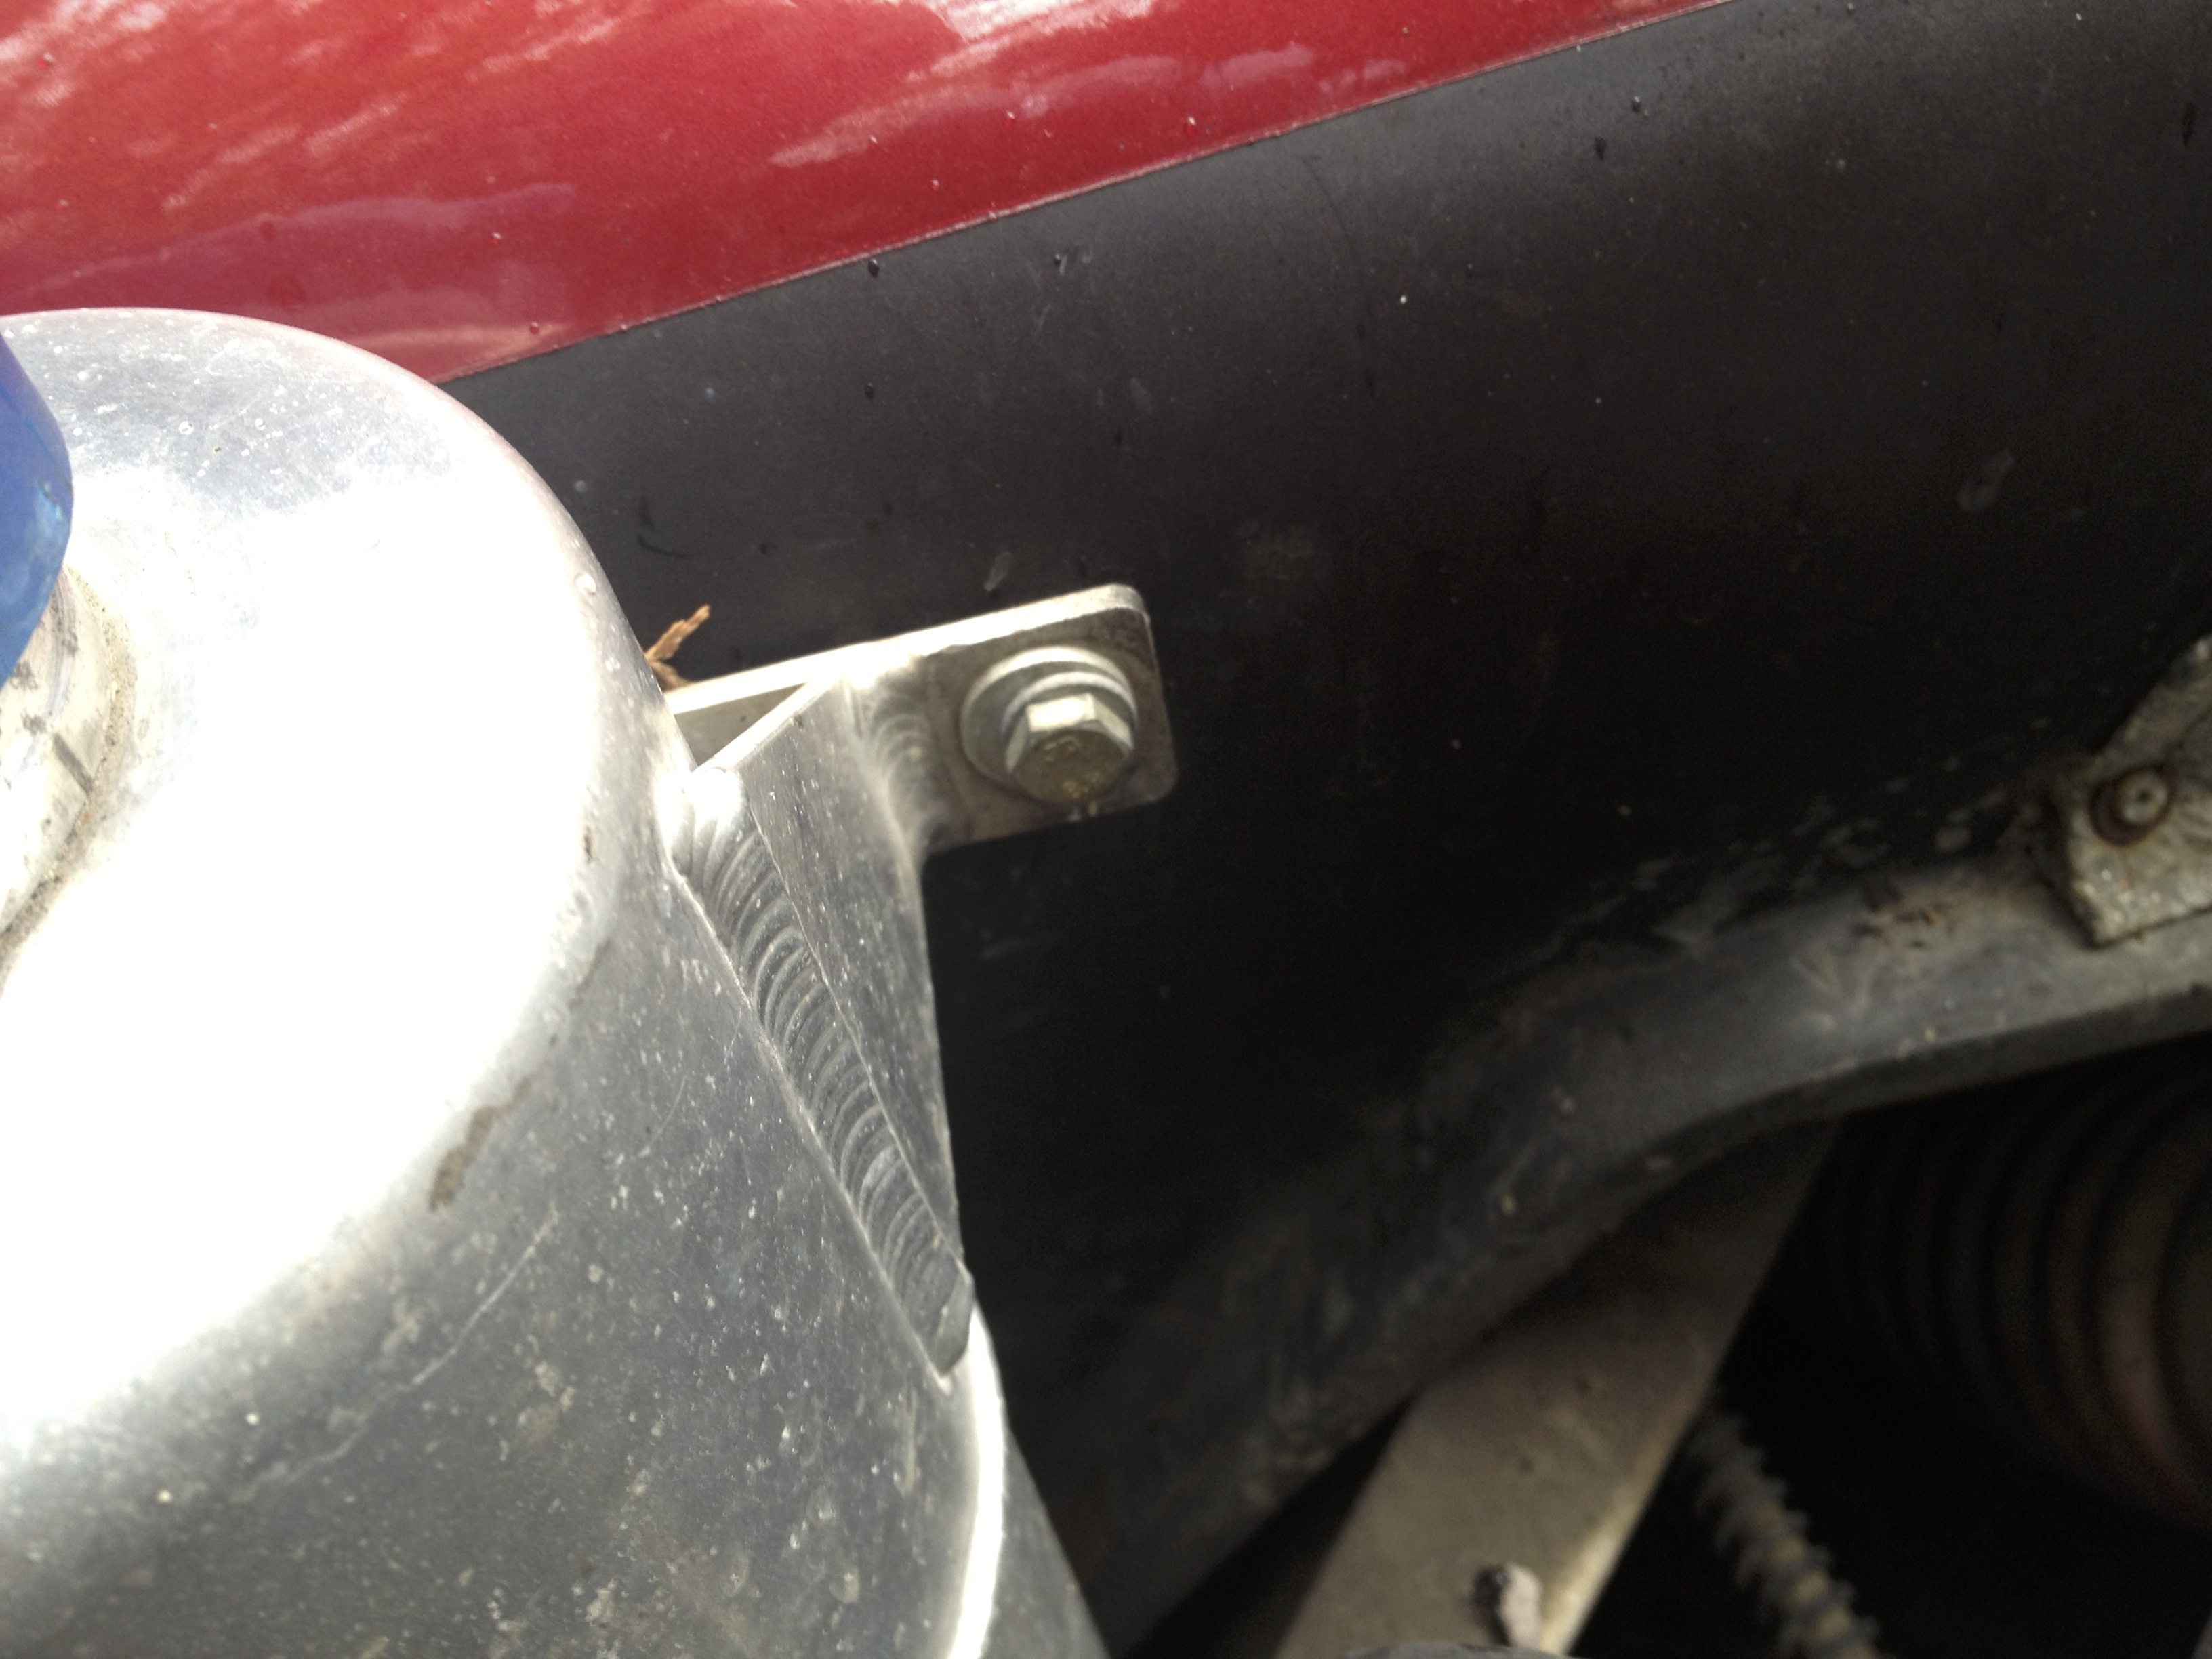 The 2 bolts holding on the tank, note washer placement etc (the hose to the carbon canister is also clearly shown, leading to the canister where it lives in the offside wing)
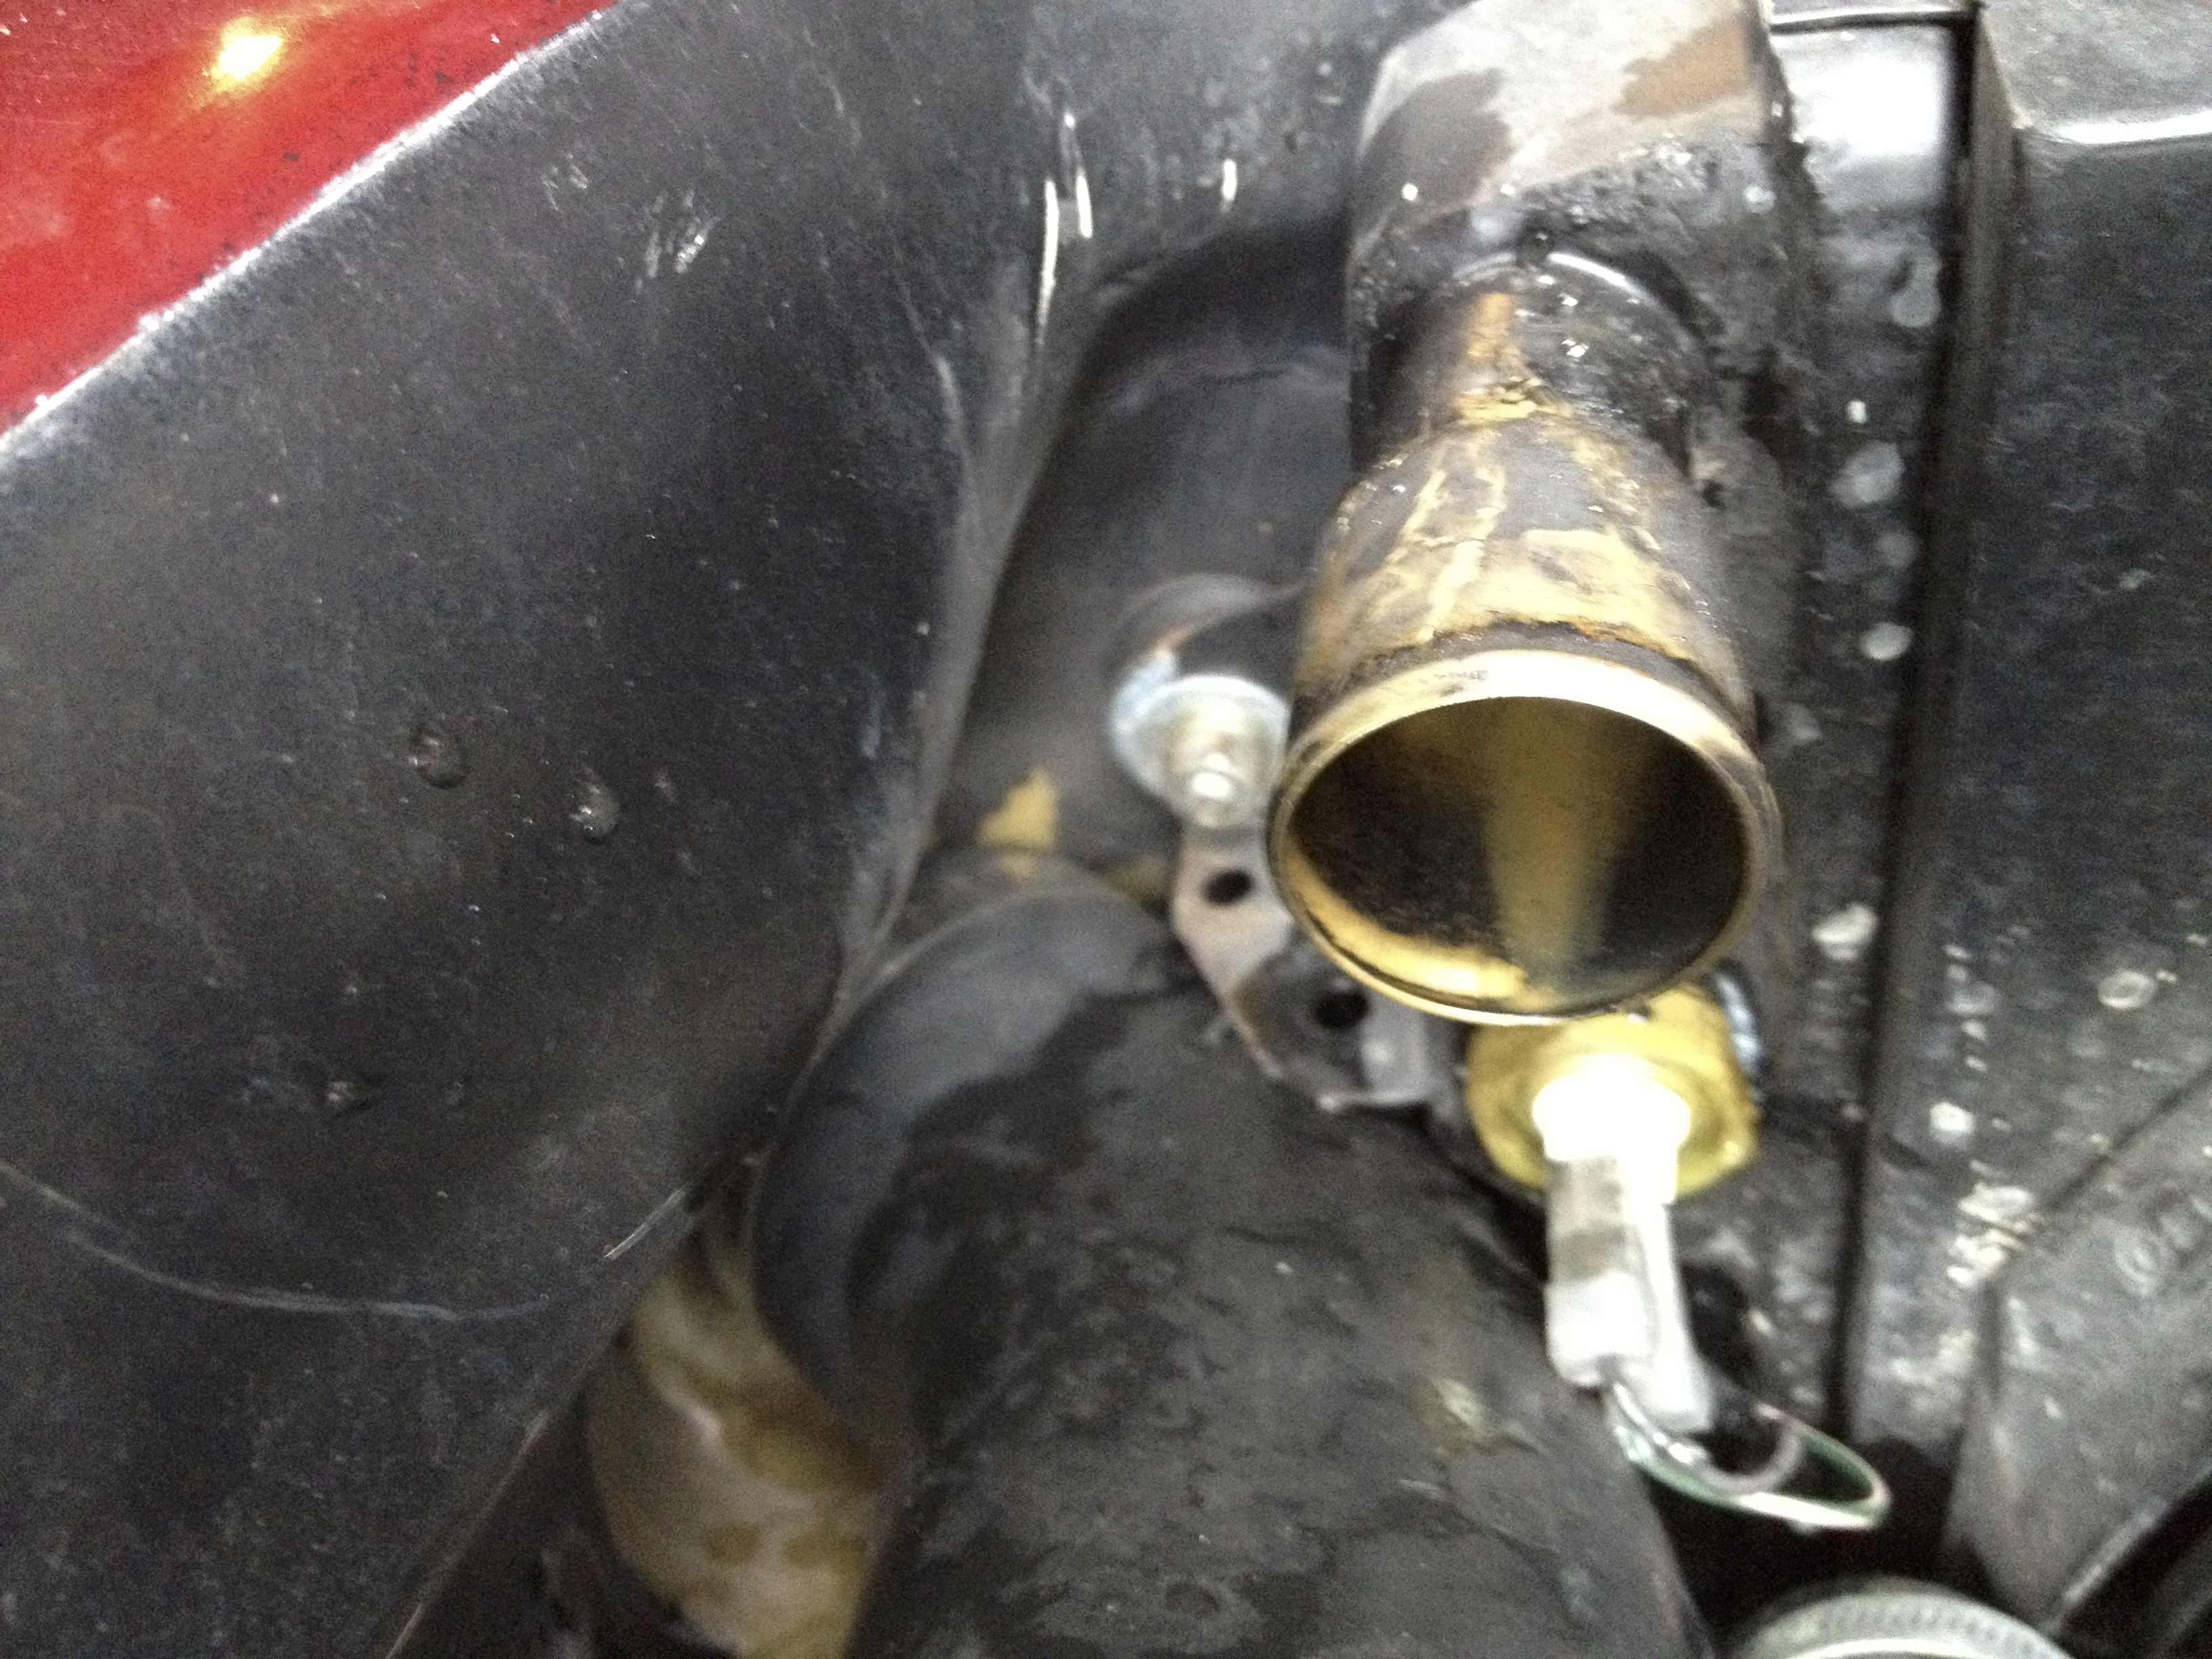
Now the expansion tank is out of the way we have decent access to the lower rad hose. Now I’m pretty sure the hoses on my car hadn’t been changed in all its life. Thus they were pretty much welded onto every fixing on the engine. There was no way that they were being prized off, so seeing as I was replacing all the hoses with nice silicone ones, I carefully cut along the coolant pipes length ways at their connections. This made them easy to remove. Up to you on if you decide to try and be careful and keep them.
 Lower radiator connection visible.
Make sure you do this outside if possible or have a decent size container under the front of the car, as its time to get ready for a bit of a tsunami of coolant to escape.
Its worth removing the electrical connections to the radiator now so they don’t get covered too much with coolant. There are some spade connectors for each fan and the otter switch connection on the actual rad on the nearside half way up its side. The otter switch is a feature of the later produced cars. Earlier versions I believe can have them built into the bottom of the swirl pot.
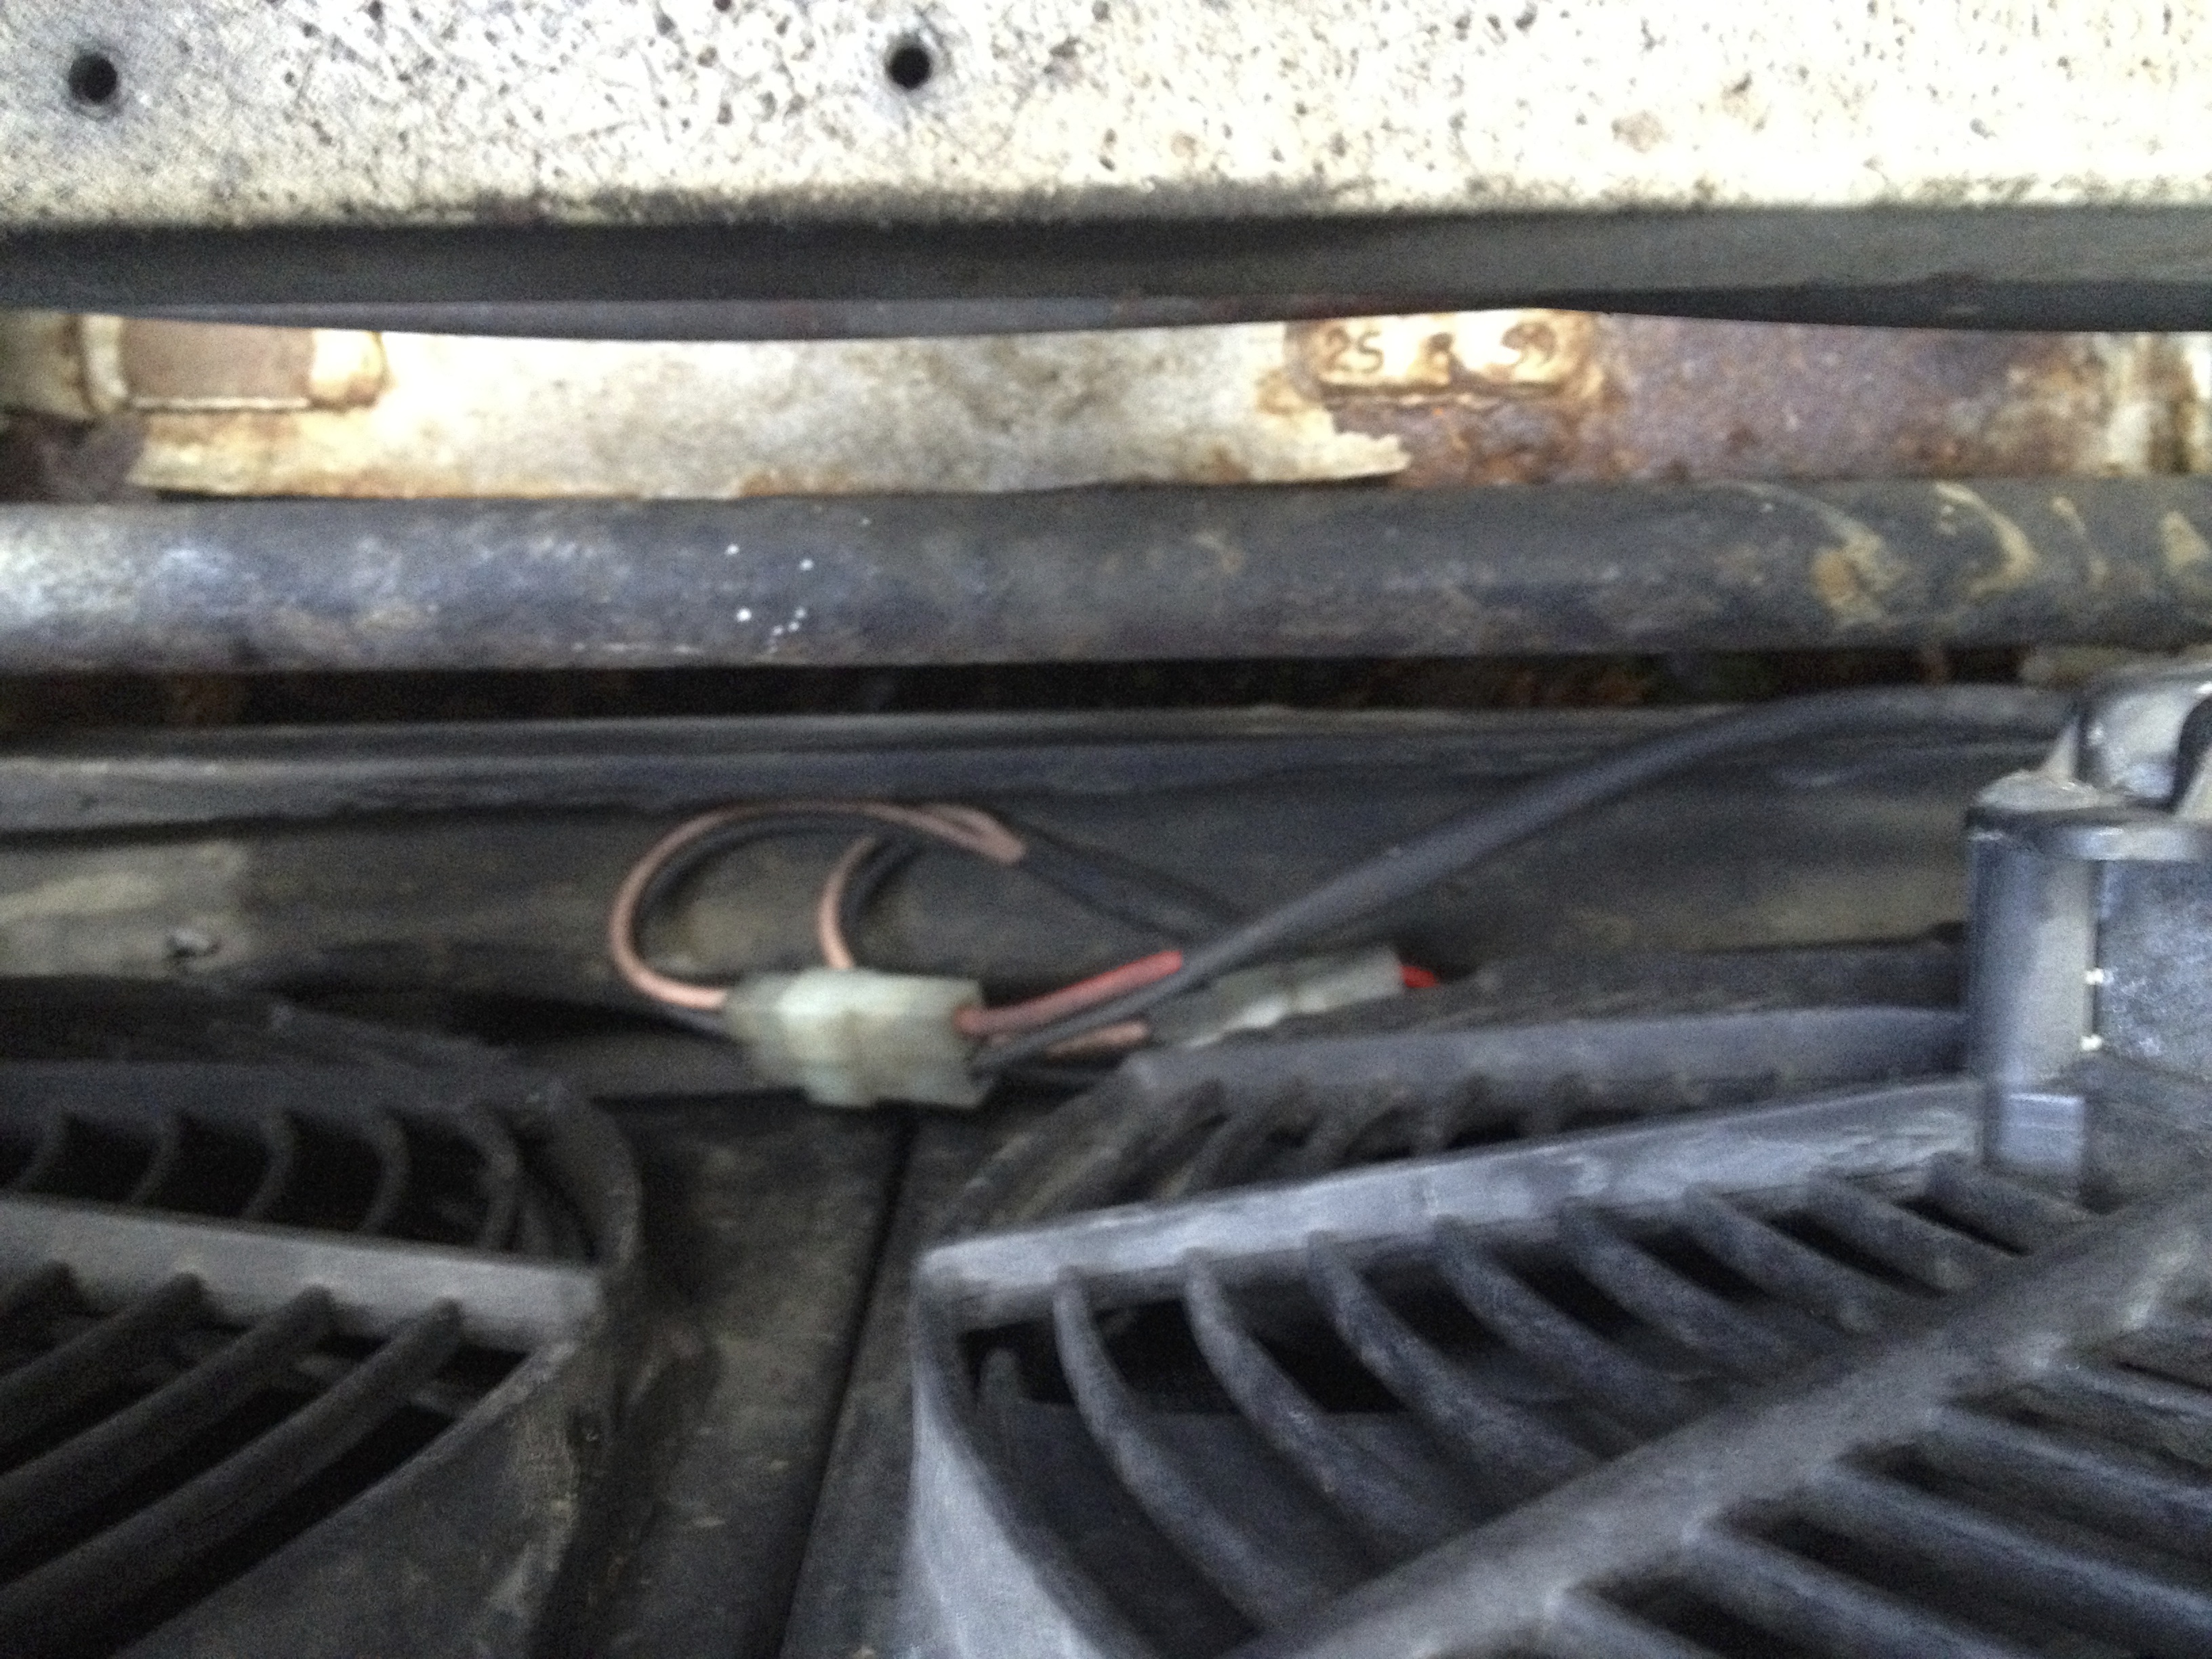 Fan spade connections
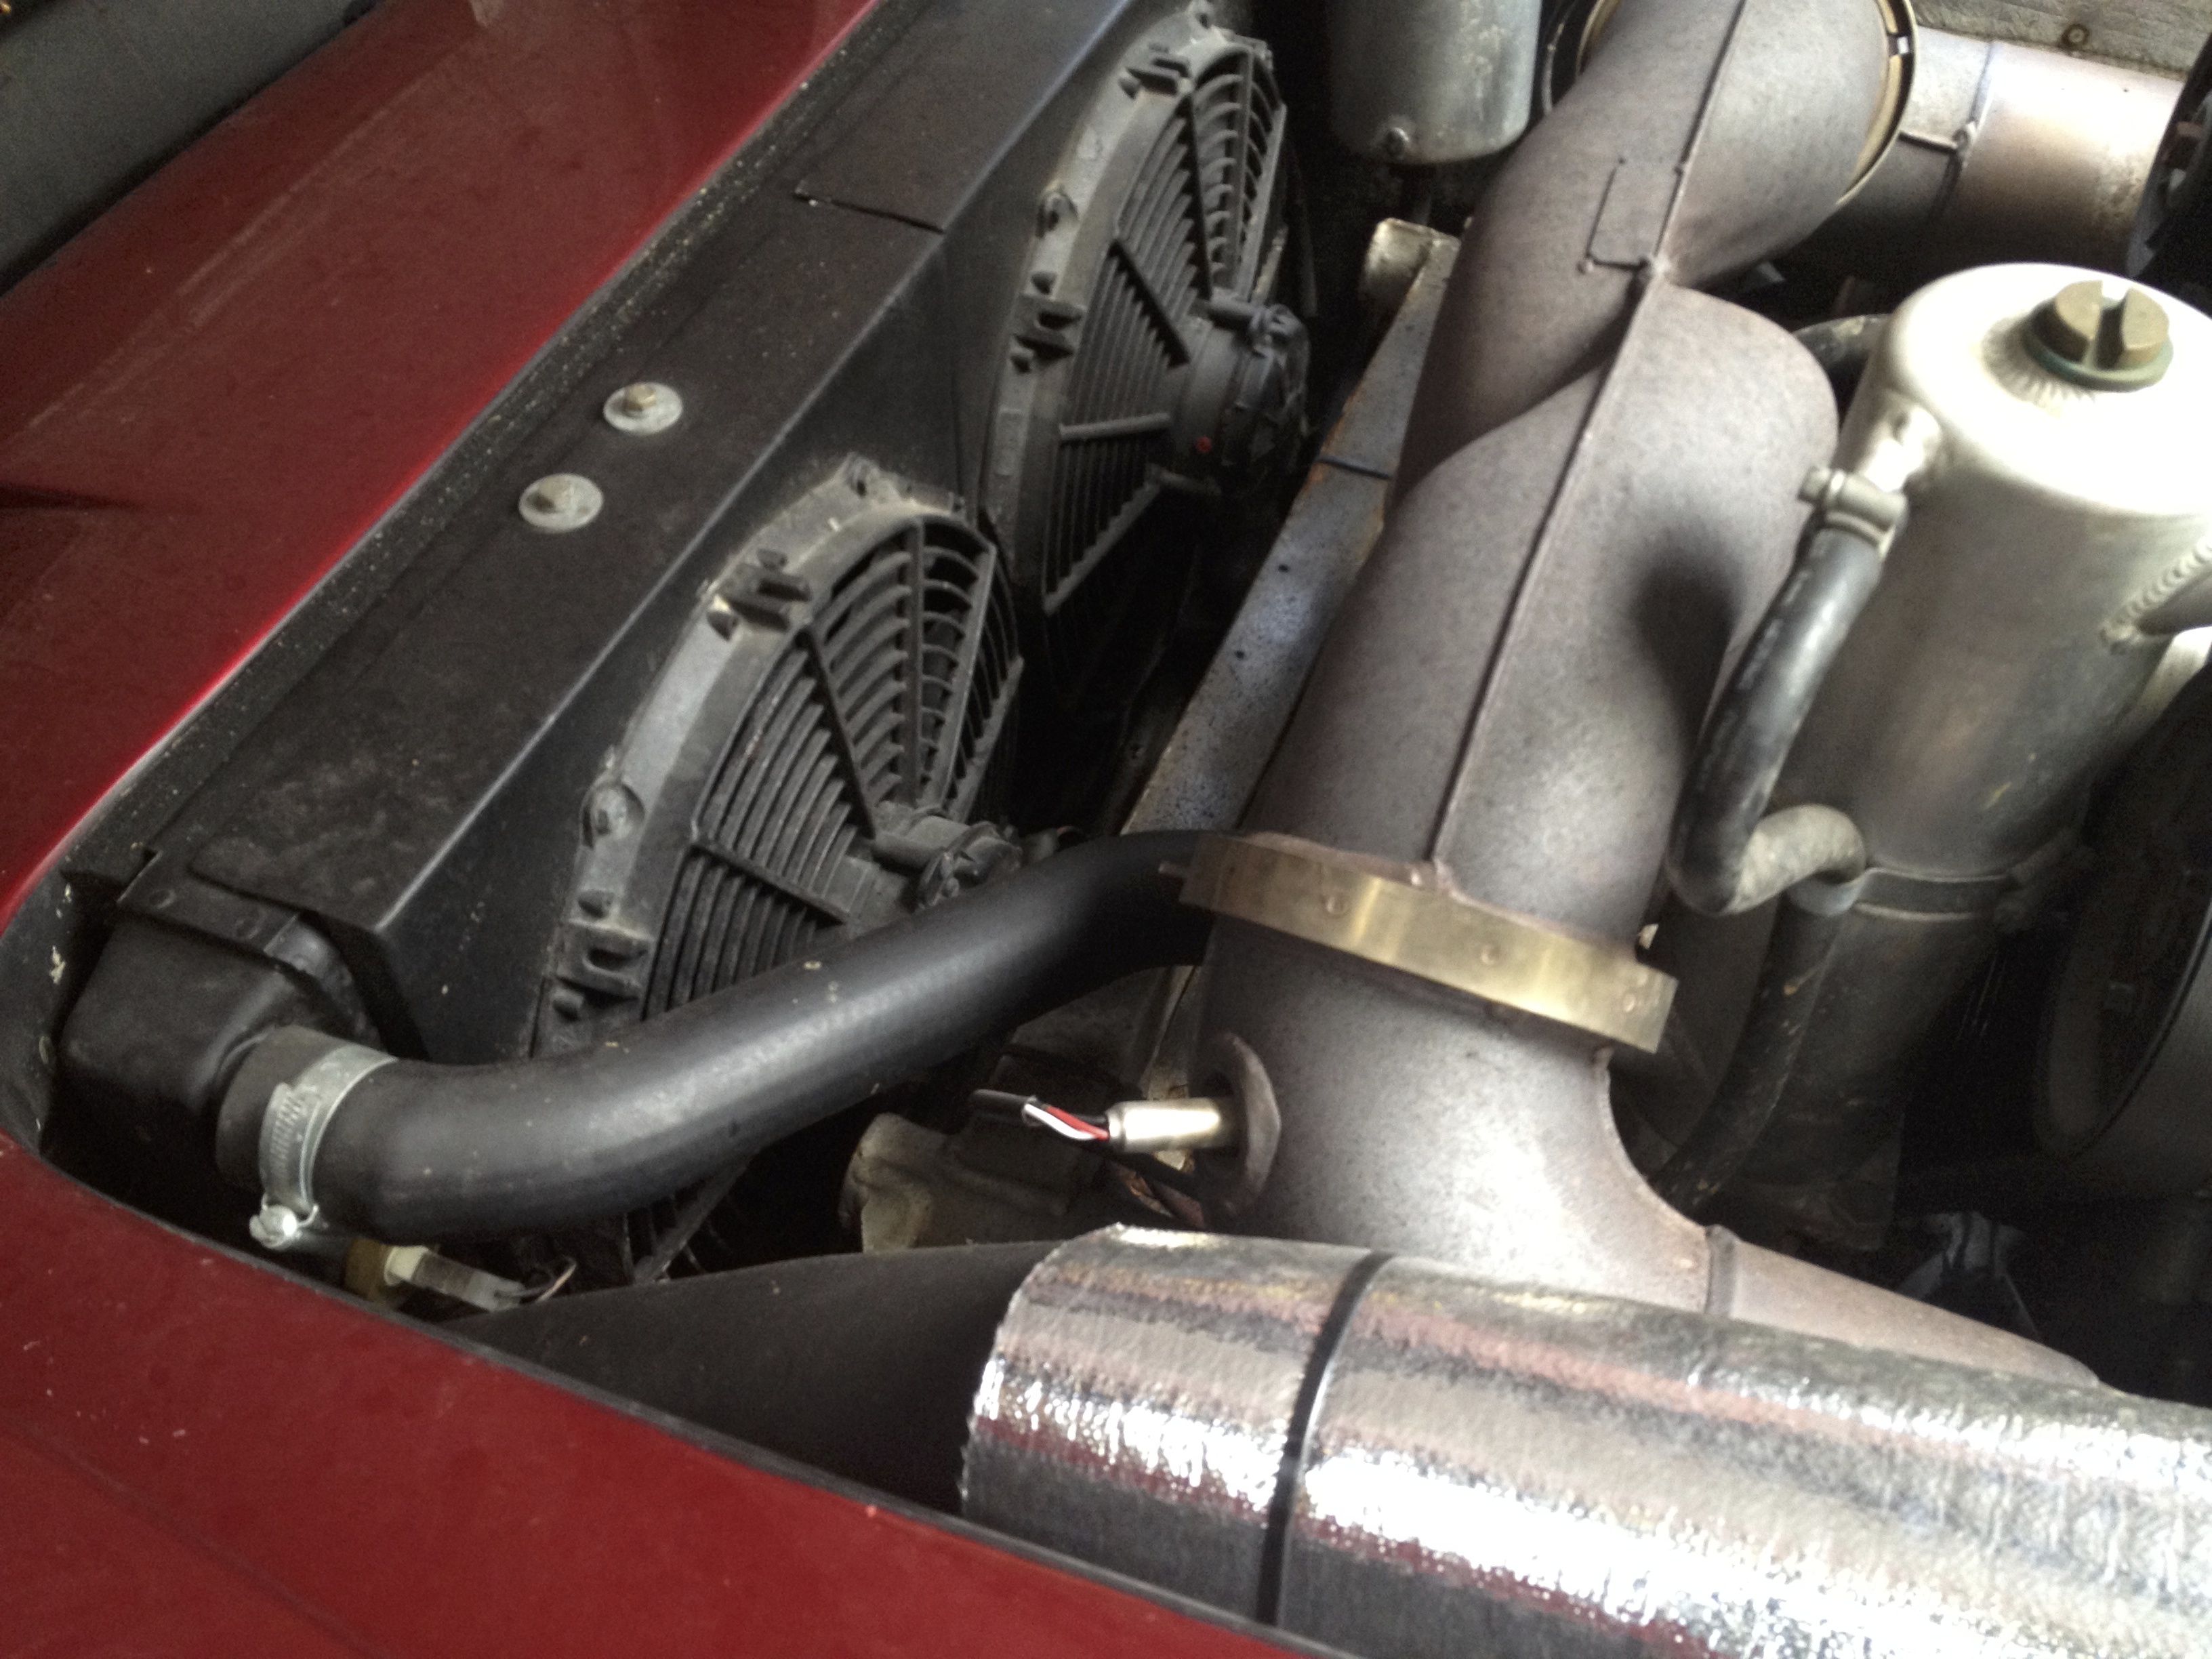 Otter switch on rad on nearside (between the top rad hose and the air inlet pipe, lower left section of photo. Note: NOT the lambda probe coming out of the exhaust manifold)
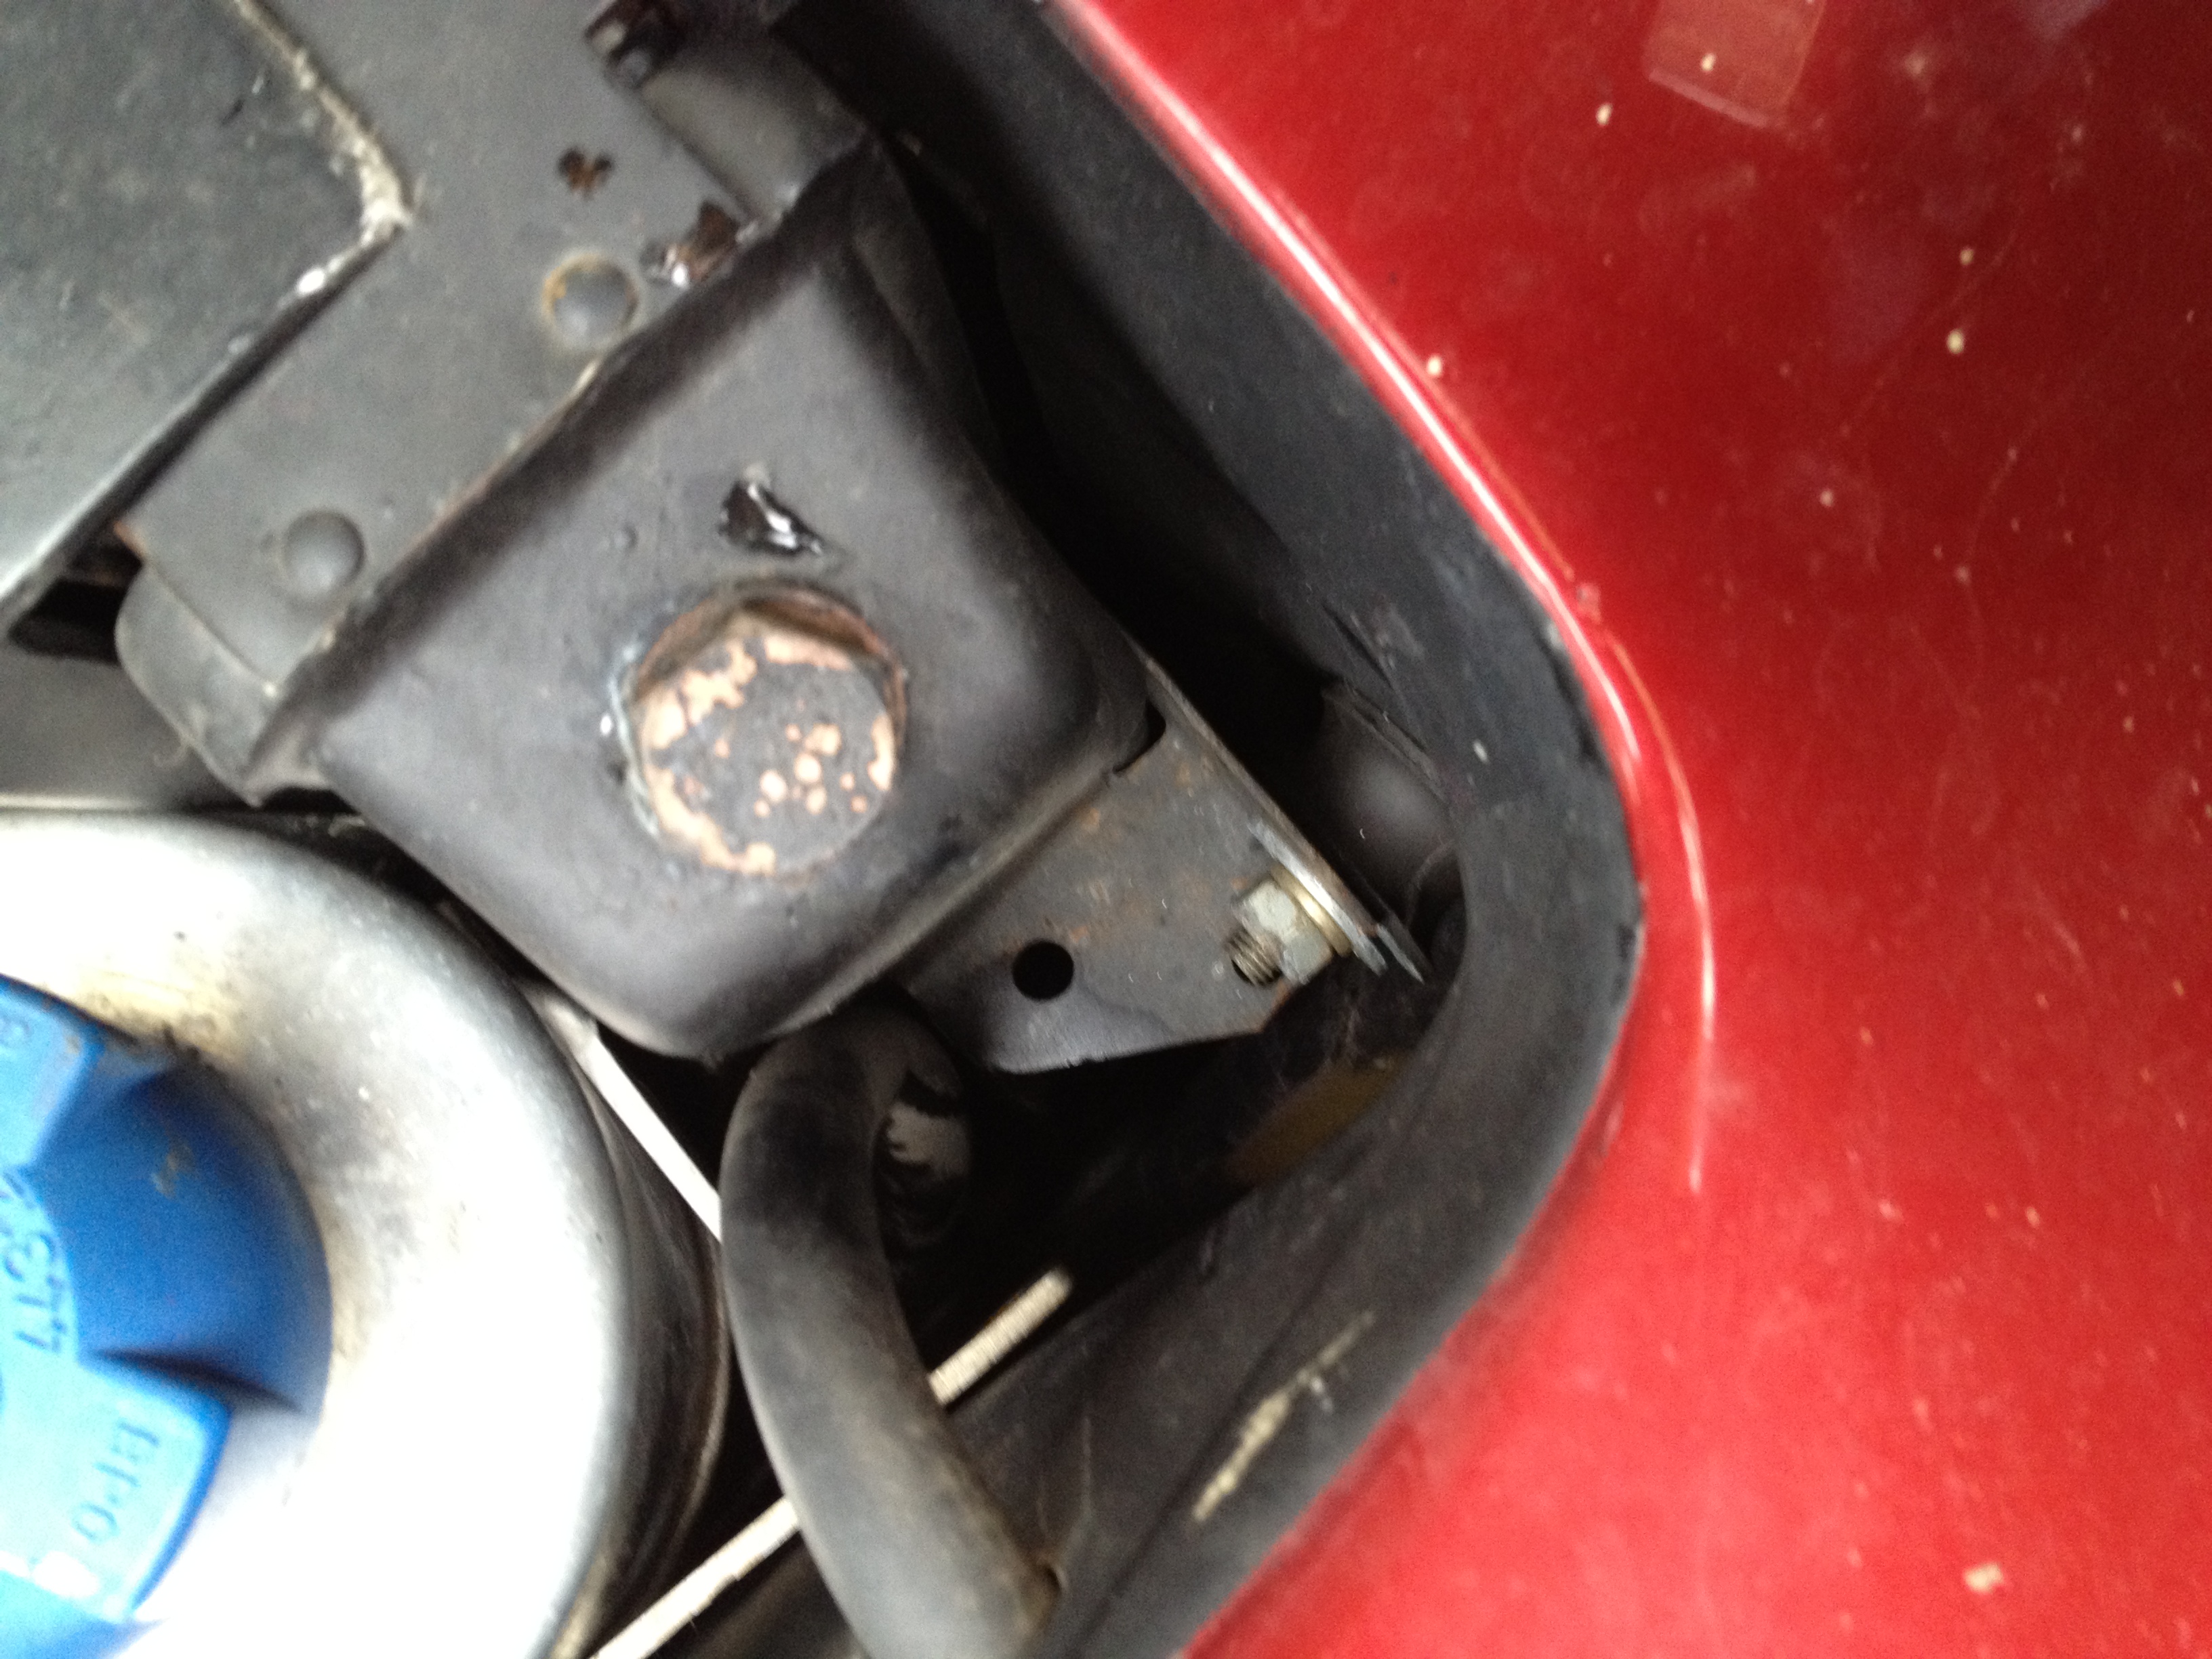
Move onto the upper rad hose on the near side of radiator. Same as before, undo jubilee clip and remove hose. Expect more coolant. This won’t actually drain out all of the coolant as some may left in the engine block, but it will be enough for removing the rad.
 Top hose connection. Also see the electrical connection you just disconnected in the previous step (although I haven’t disconnected it here….oops).
The above photo also shows the nearside radiator bobbin (immediately to the left of the connection looking at the photo). This and the offside bobbin need to be removed, simply nuts to undo as the bolt is connected onto the body, and the radiator is ready to come out.
 Offside bobbin
Pull the radiator away from the front of the car and when clear of the mounts it just lifts out. It can be a bit heavier than you were expecting so some care is needed. The bottom of the radiator has some simple lugs that locate into holes already in the body on some rubber washers.
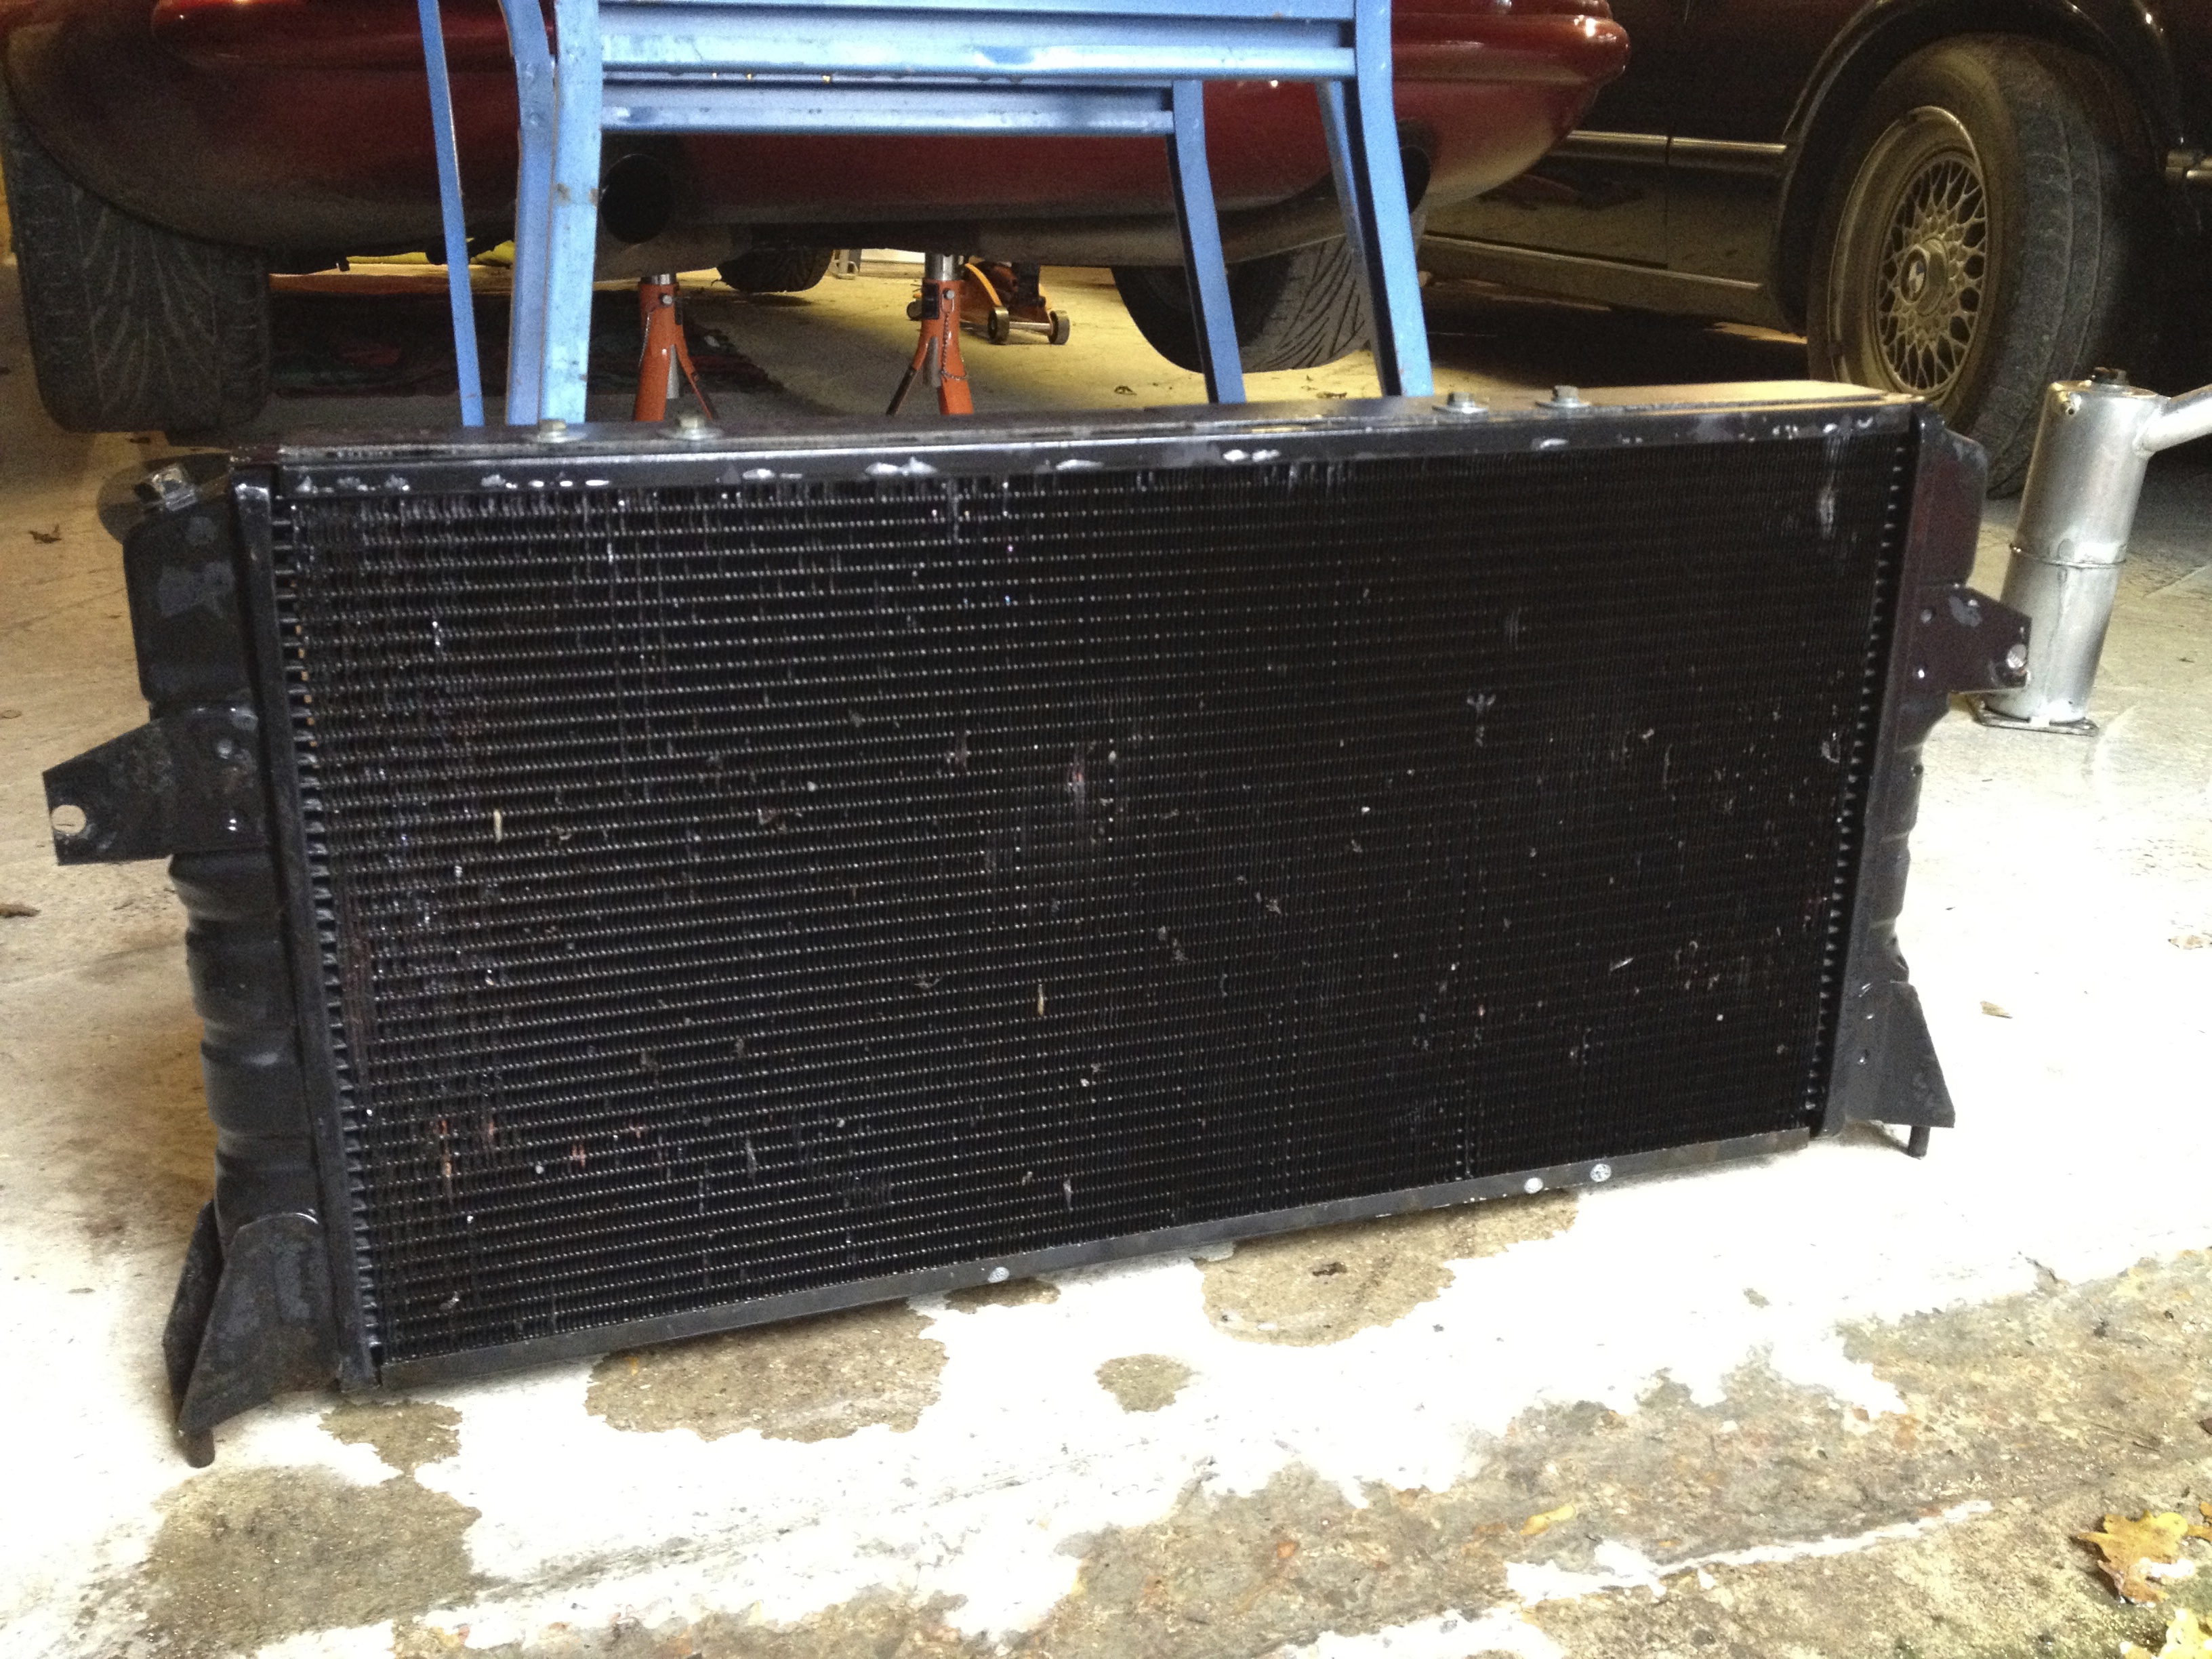 Radiator removed. Doesn’t seem to be in bad condition (note locating lugs at the lower outside edges)
 Radiator out. Note locating holes for the bottom of the rad on either side with washers.
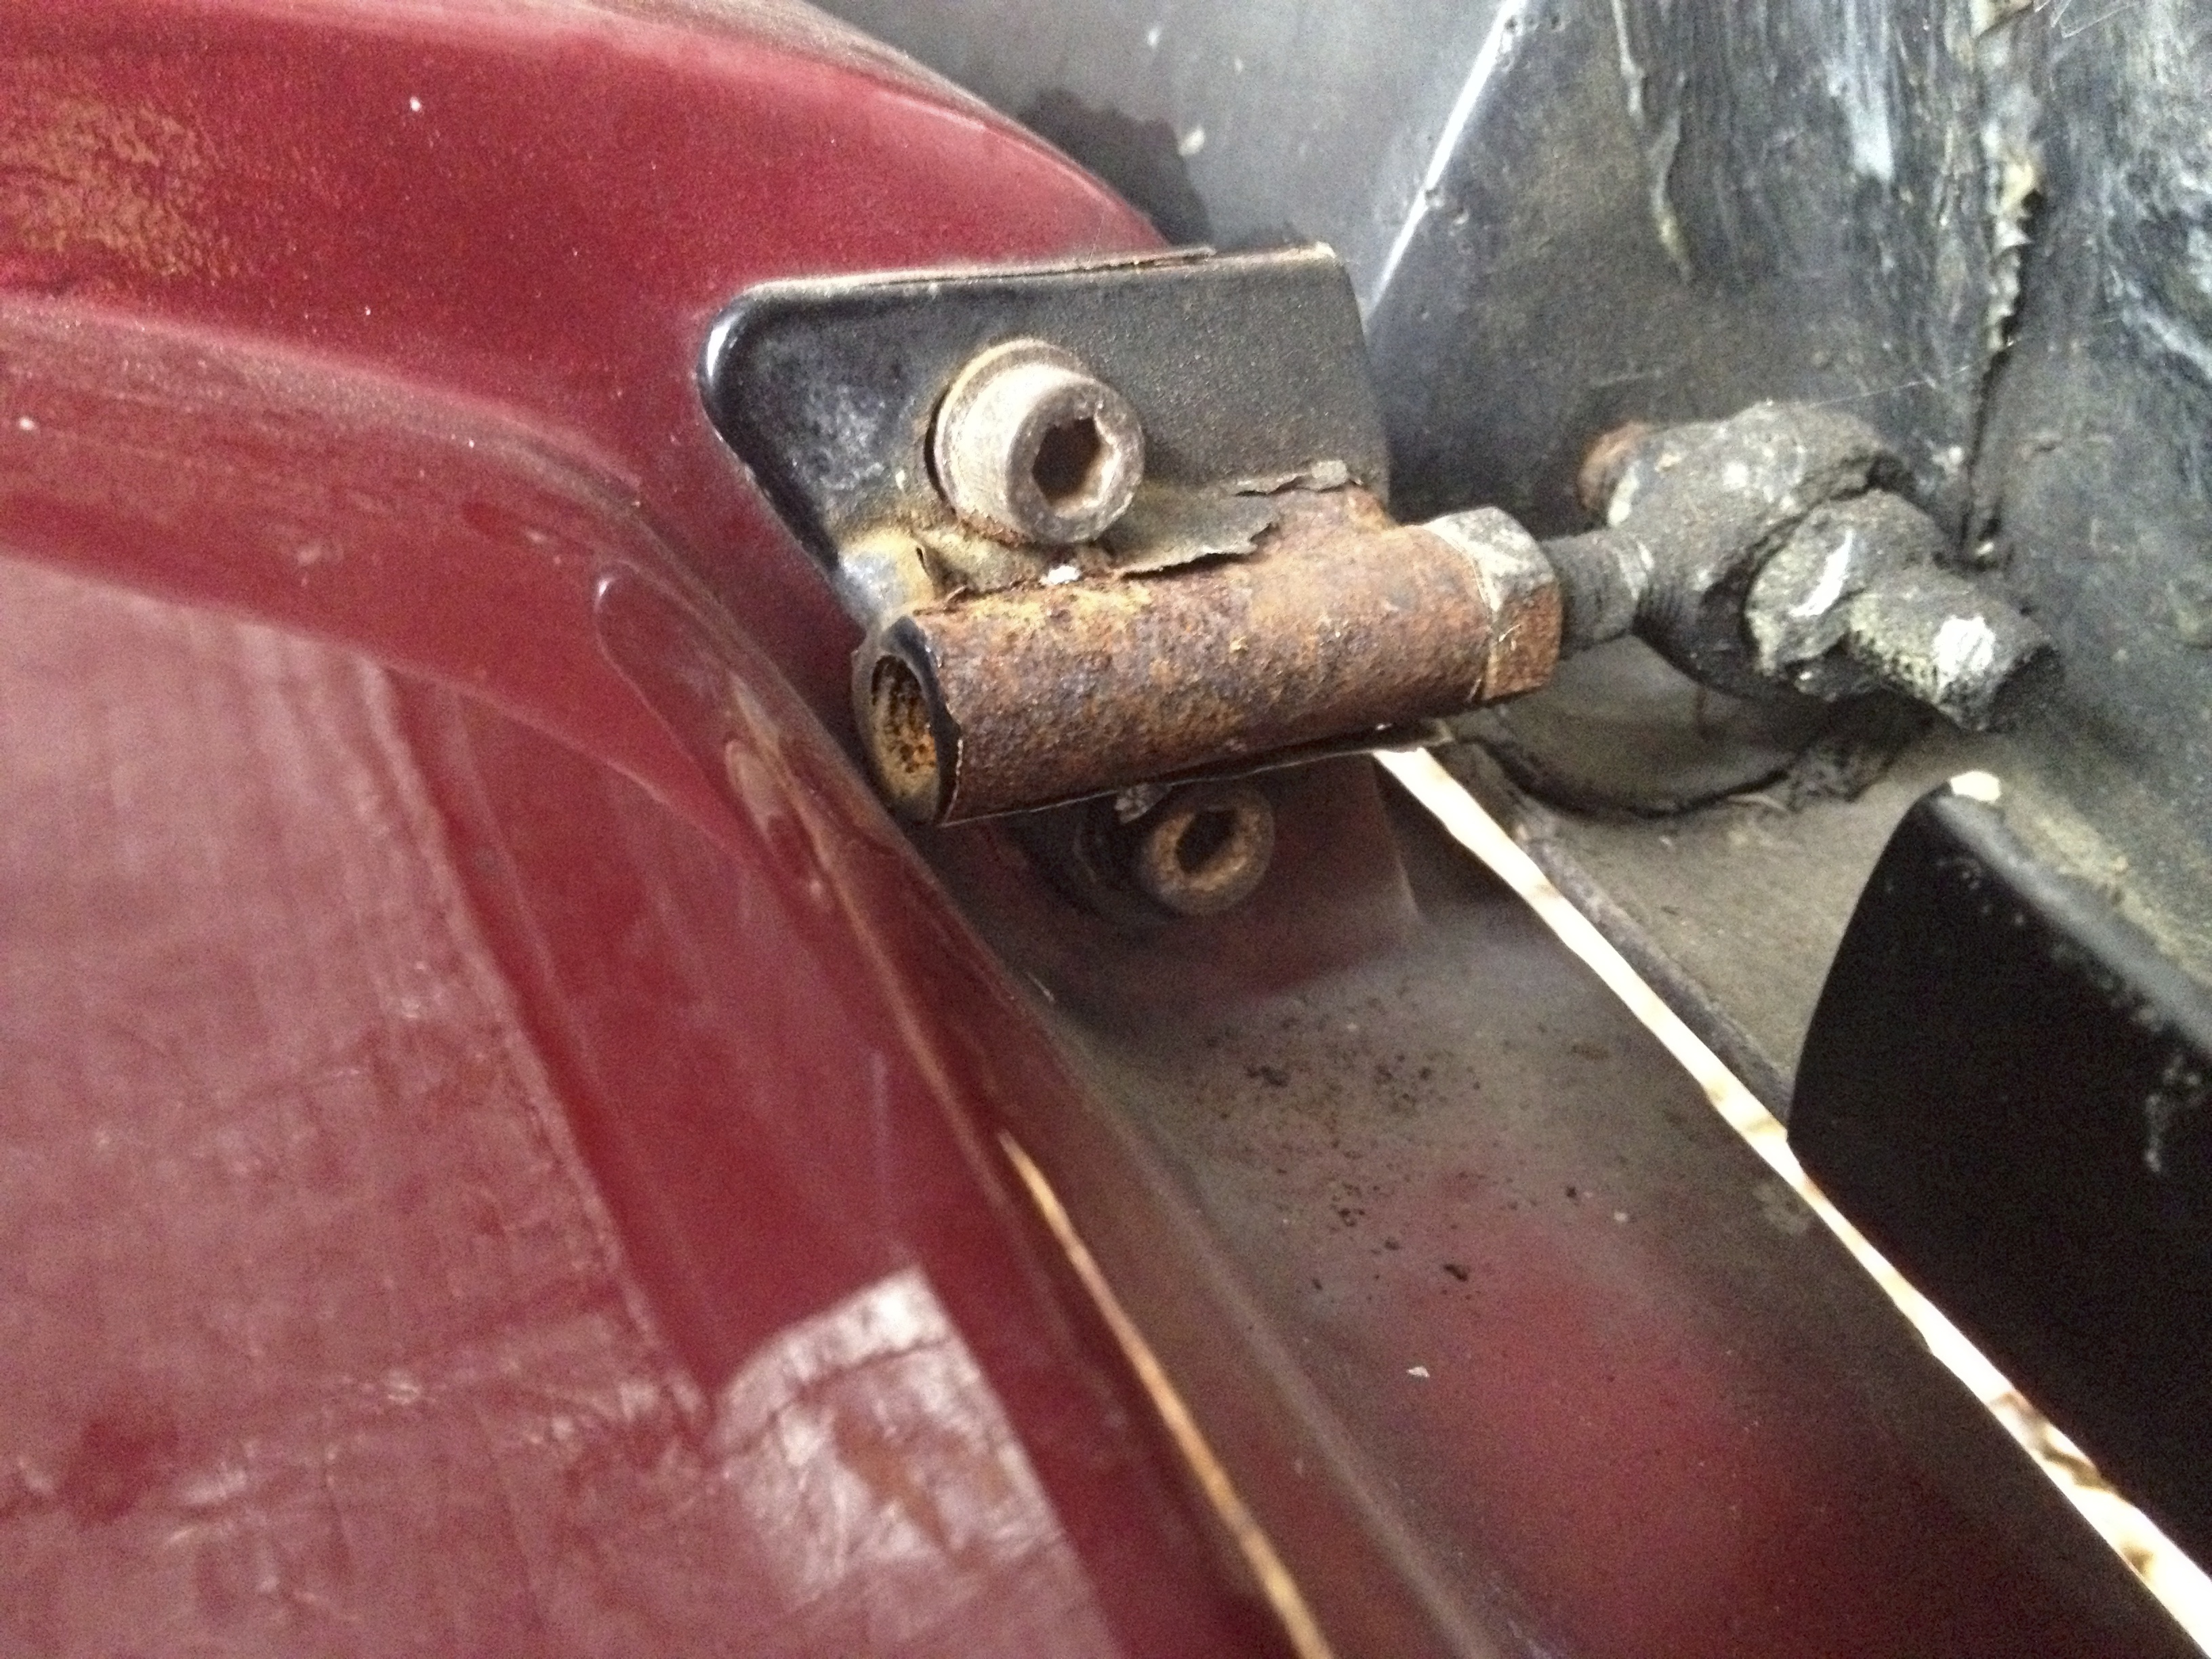
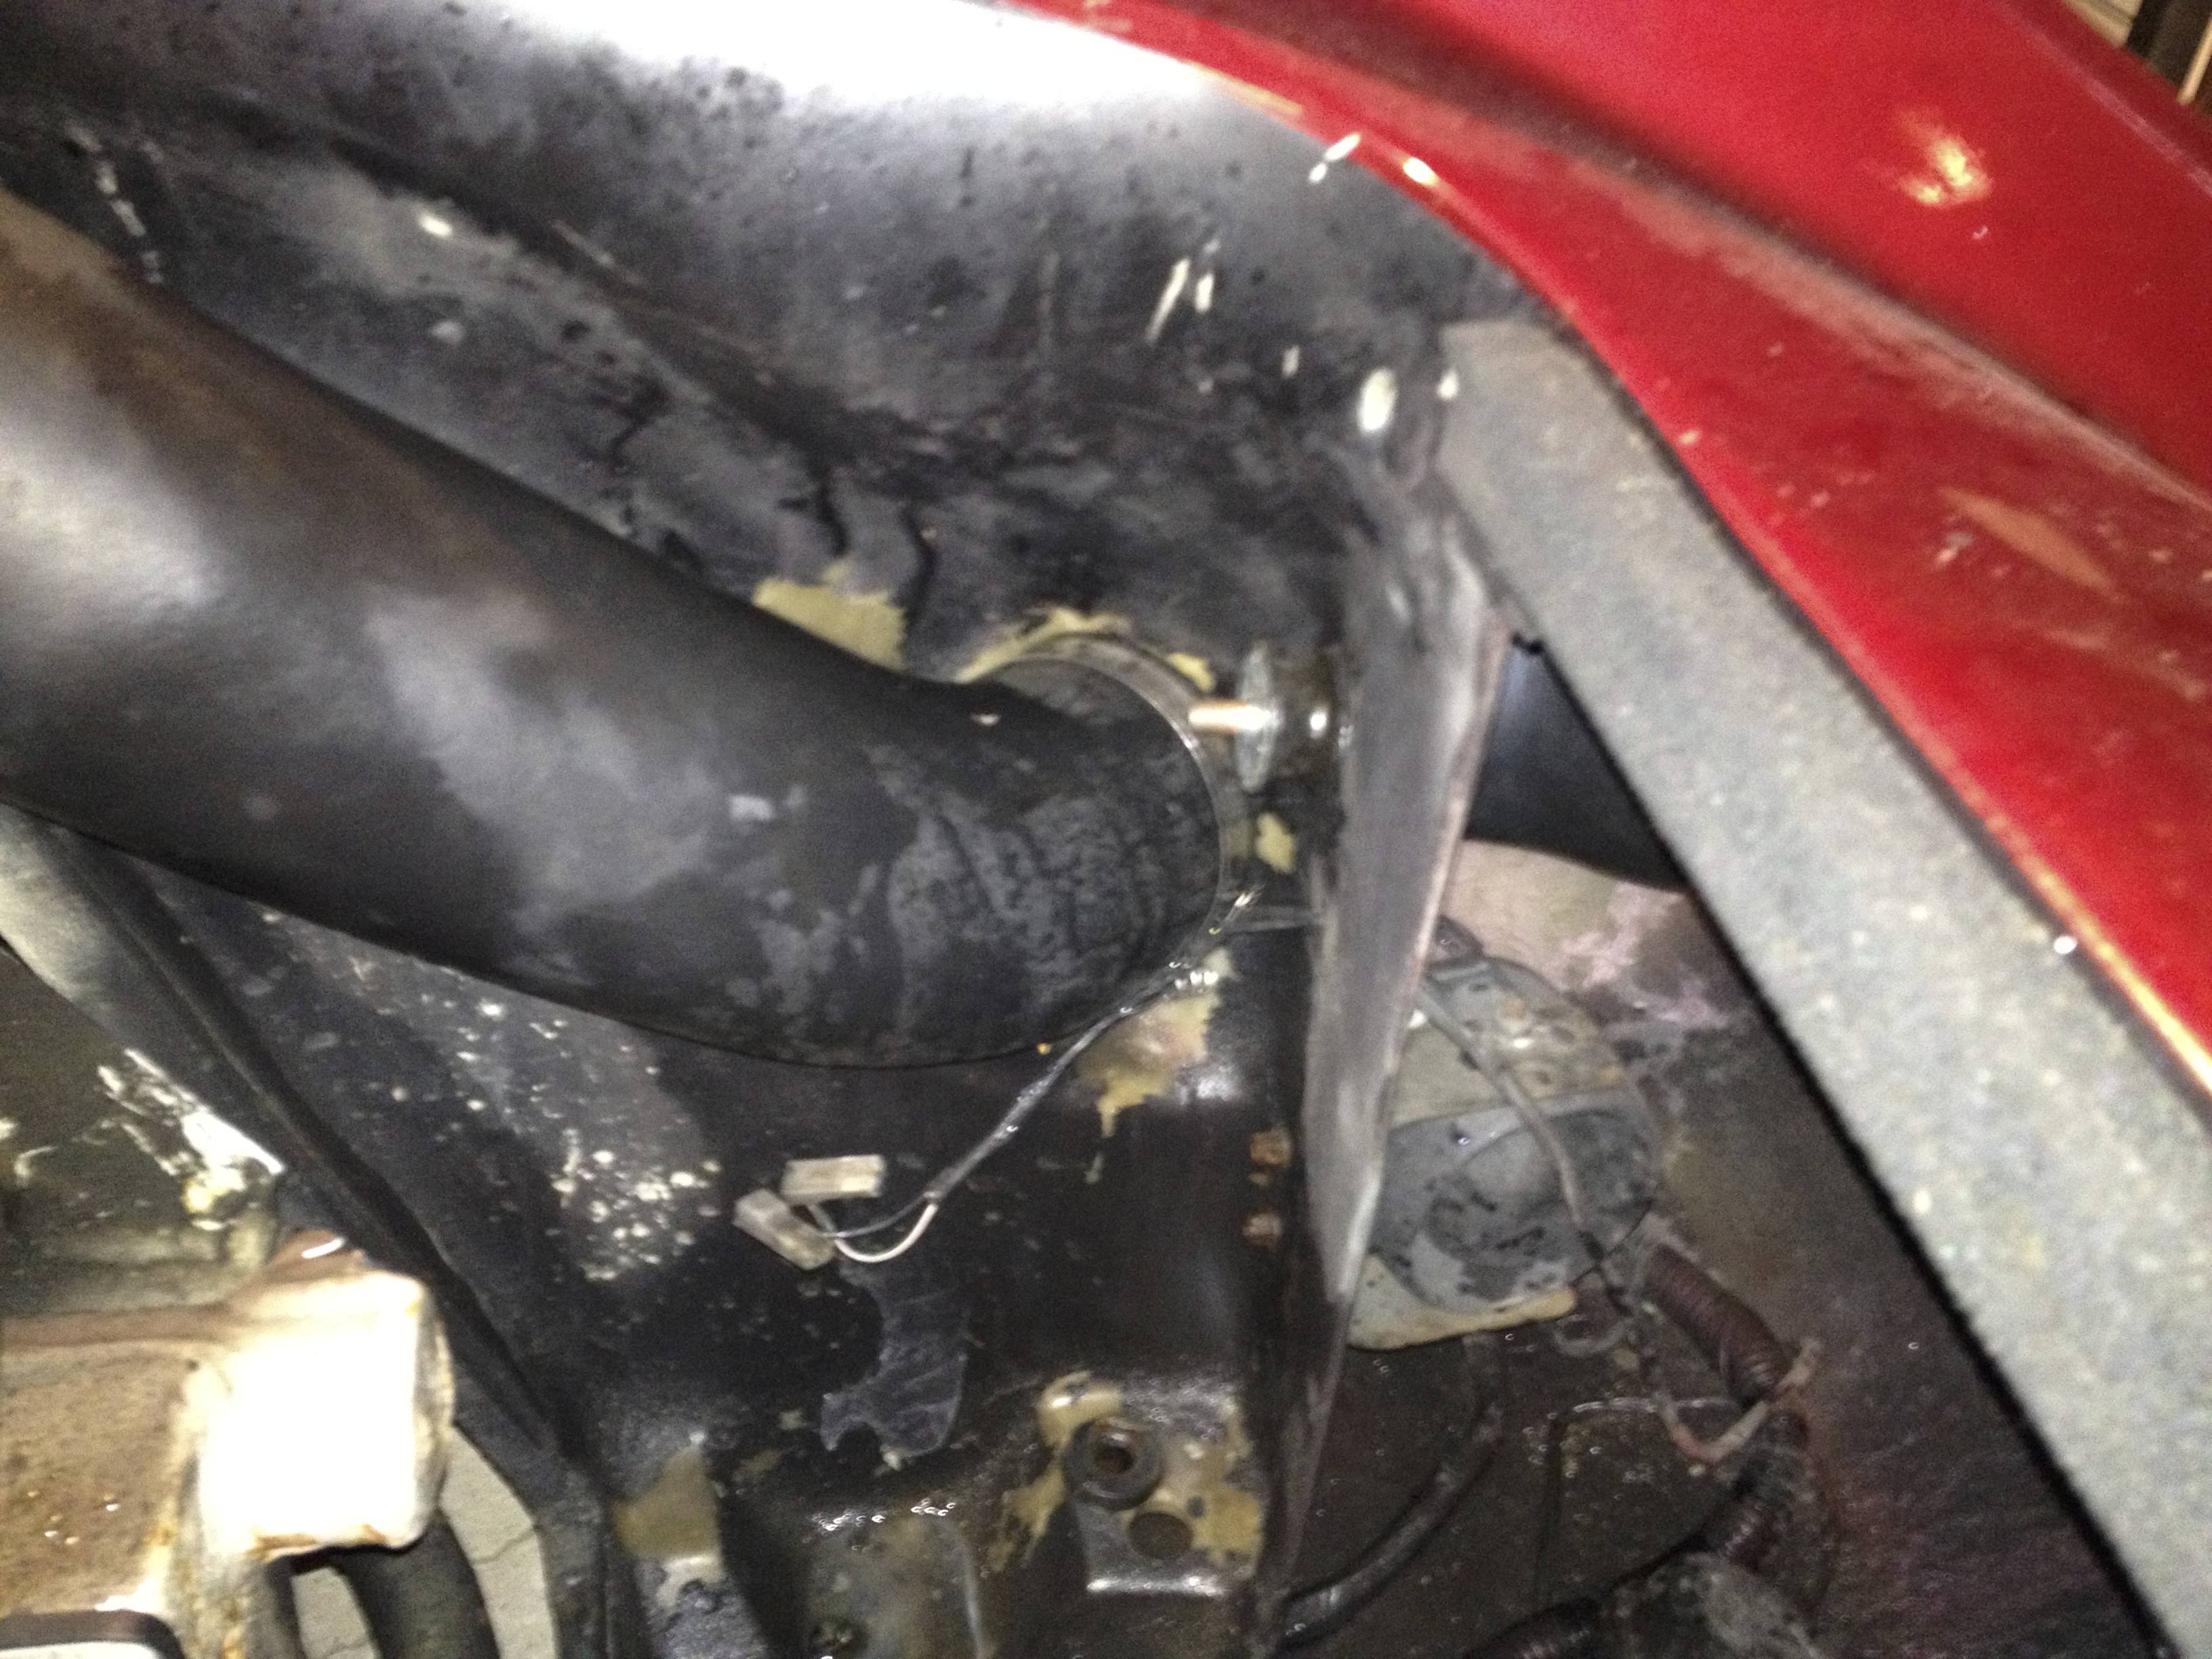
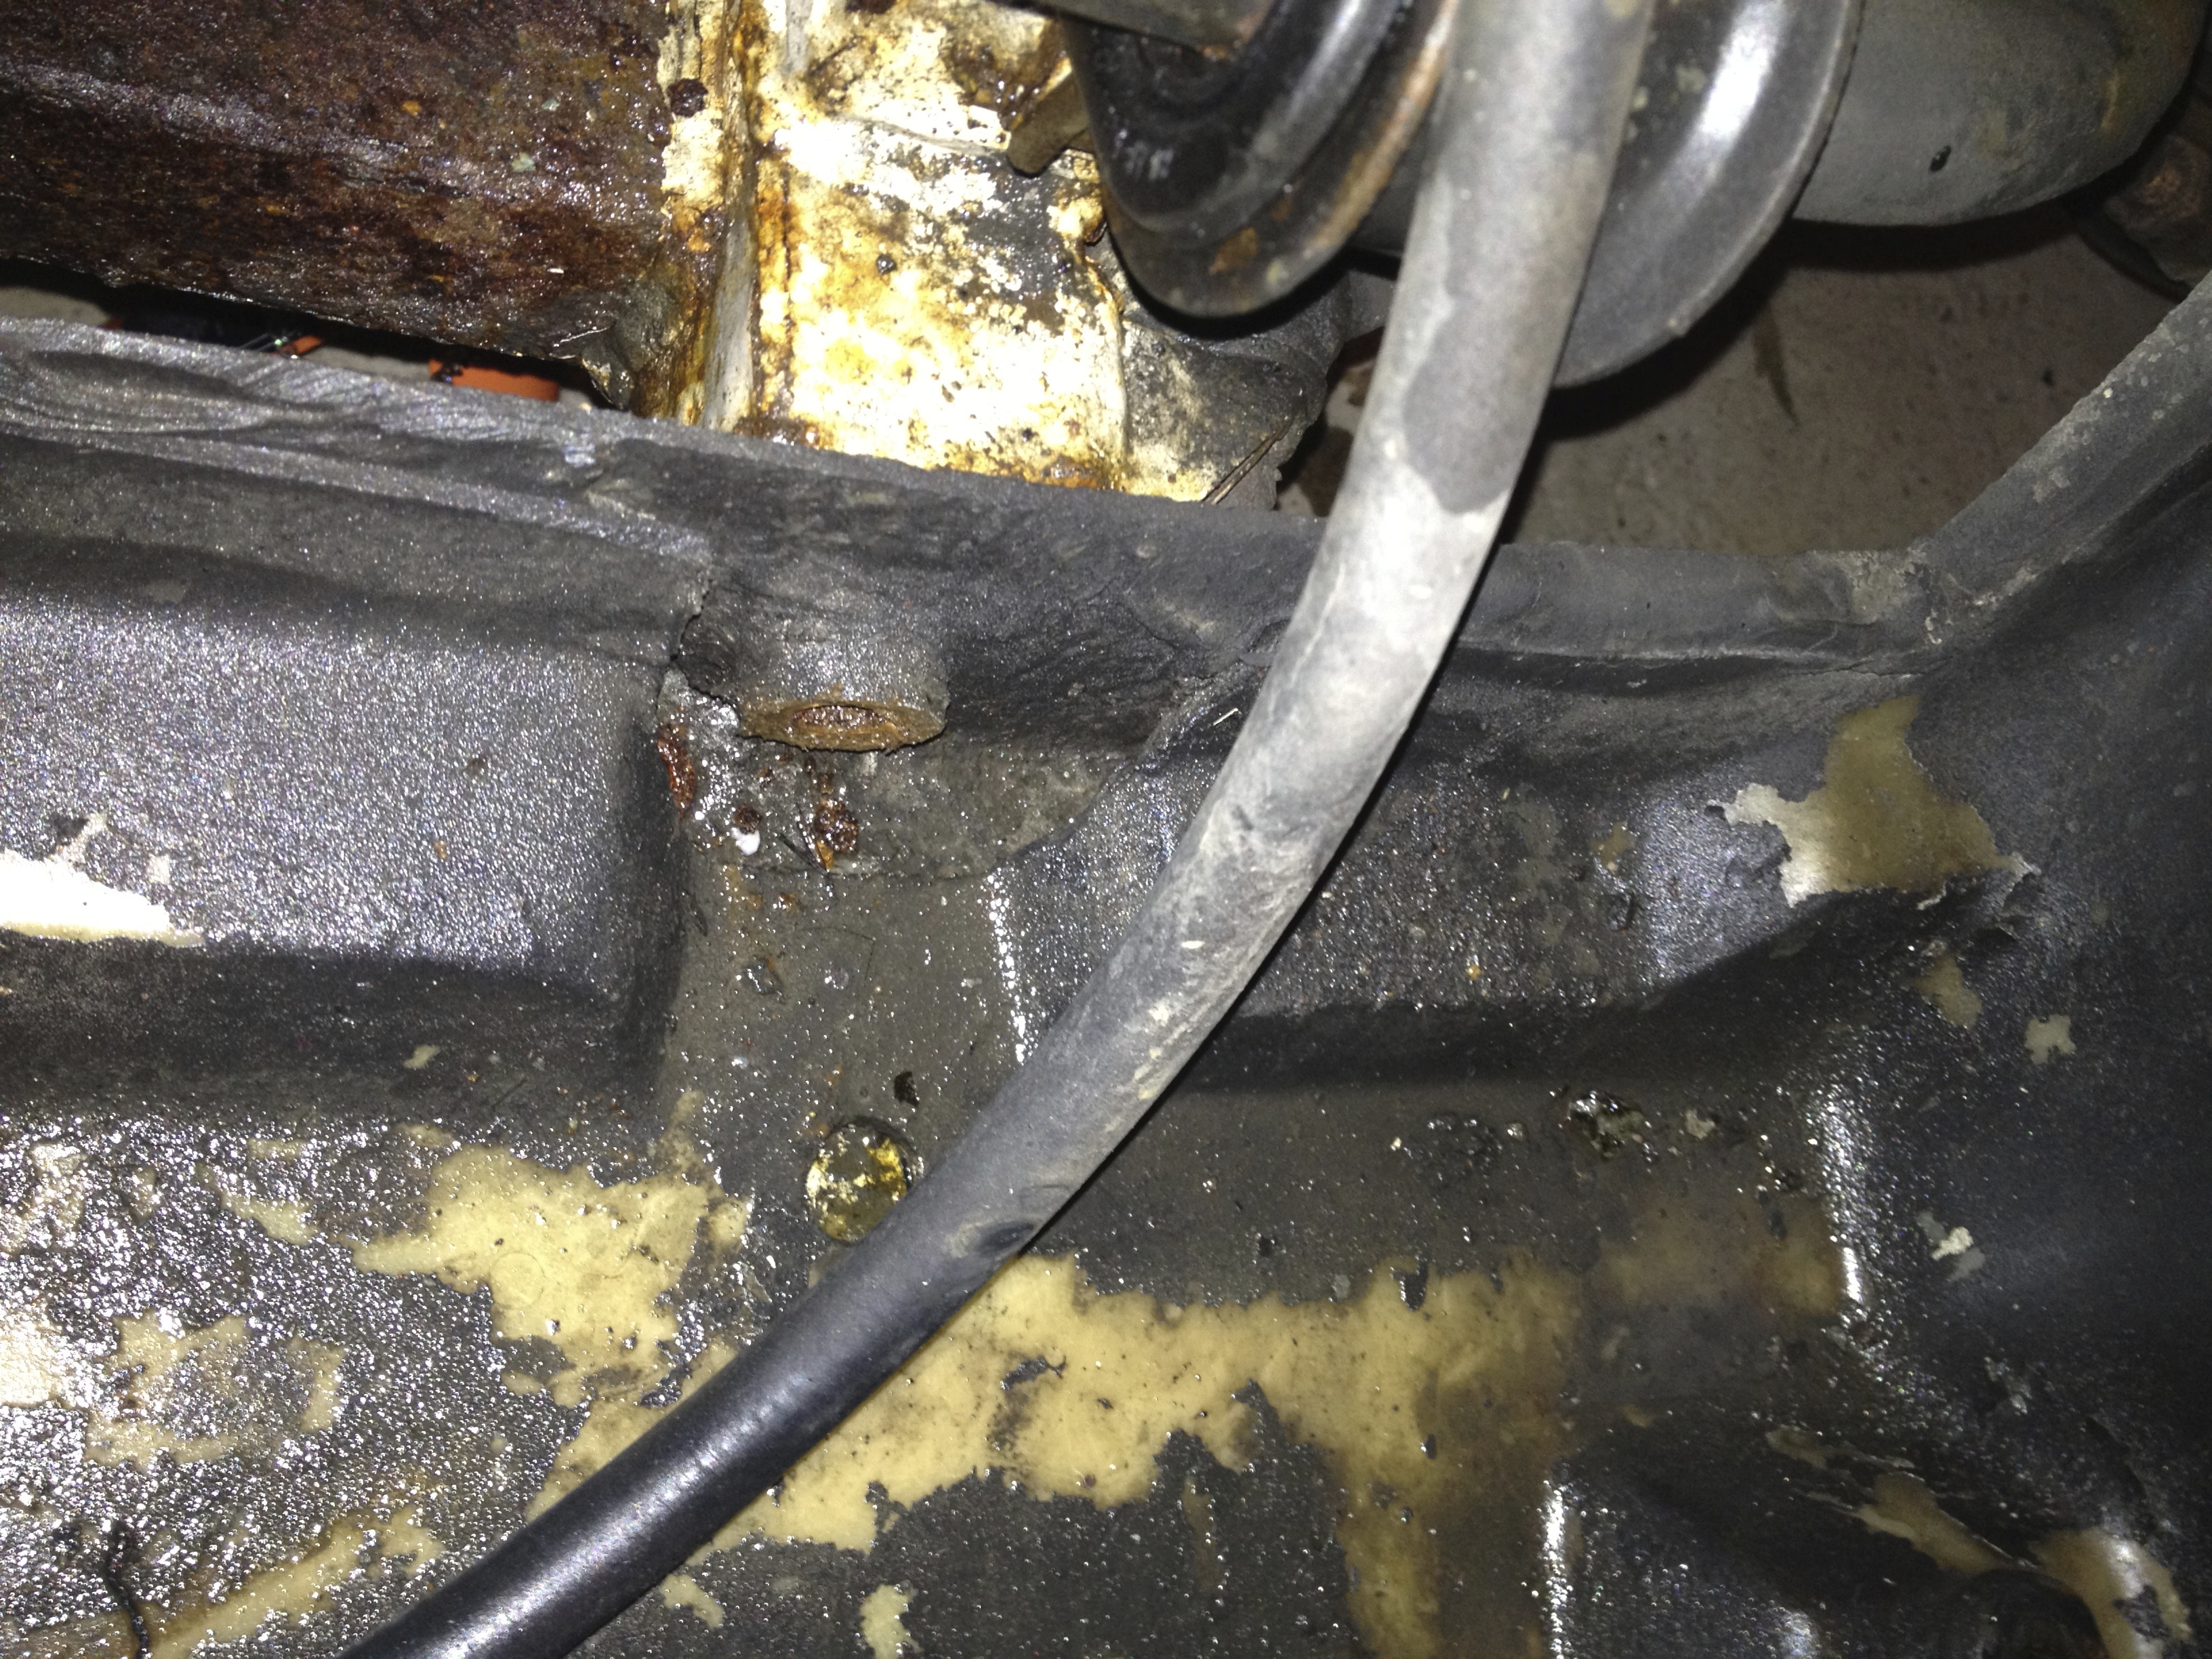
Finally we have access to the front chassis bolts. Only the 2 bolts at the front. Looking at the state of these it was pretty clear to see that they had taken some serious moisture abuse over the last decade or so. Loads of plus gas was used and I kept soaking them every day for almost a week. Possibly overkill, but the last thing I wanted was to shear a bolt ! Also note the offside front bolt is another earth connection and you’ll see the wiring attached to it.
 Front offside chassis bolt. Identical bolt on nearside but with no electrical connections. (Front cross member and anti-roll bar don’t look too happy either do they….?)
 Near side, bolt already removed
And another step completed. Coolant drained, radiator out and front chassis bolts out. Cracking along aren’t we.
